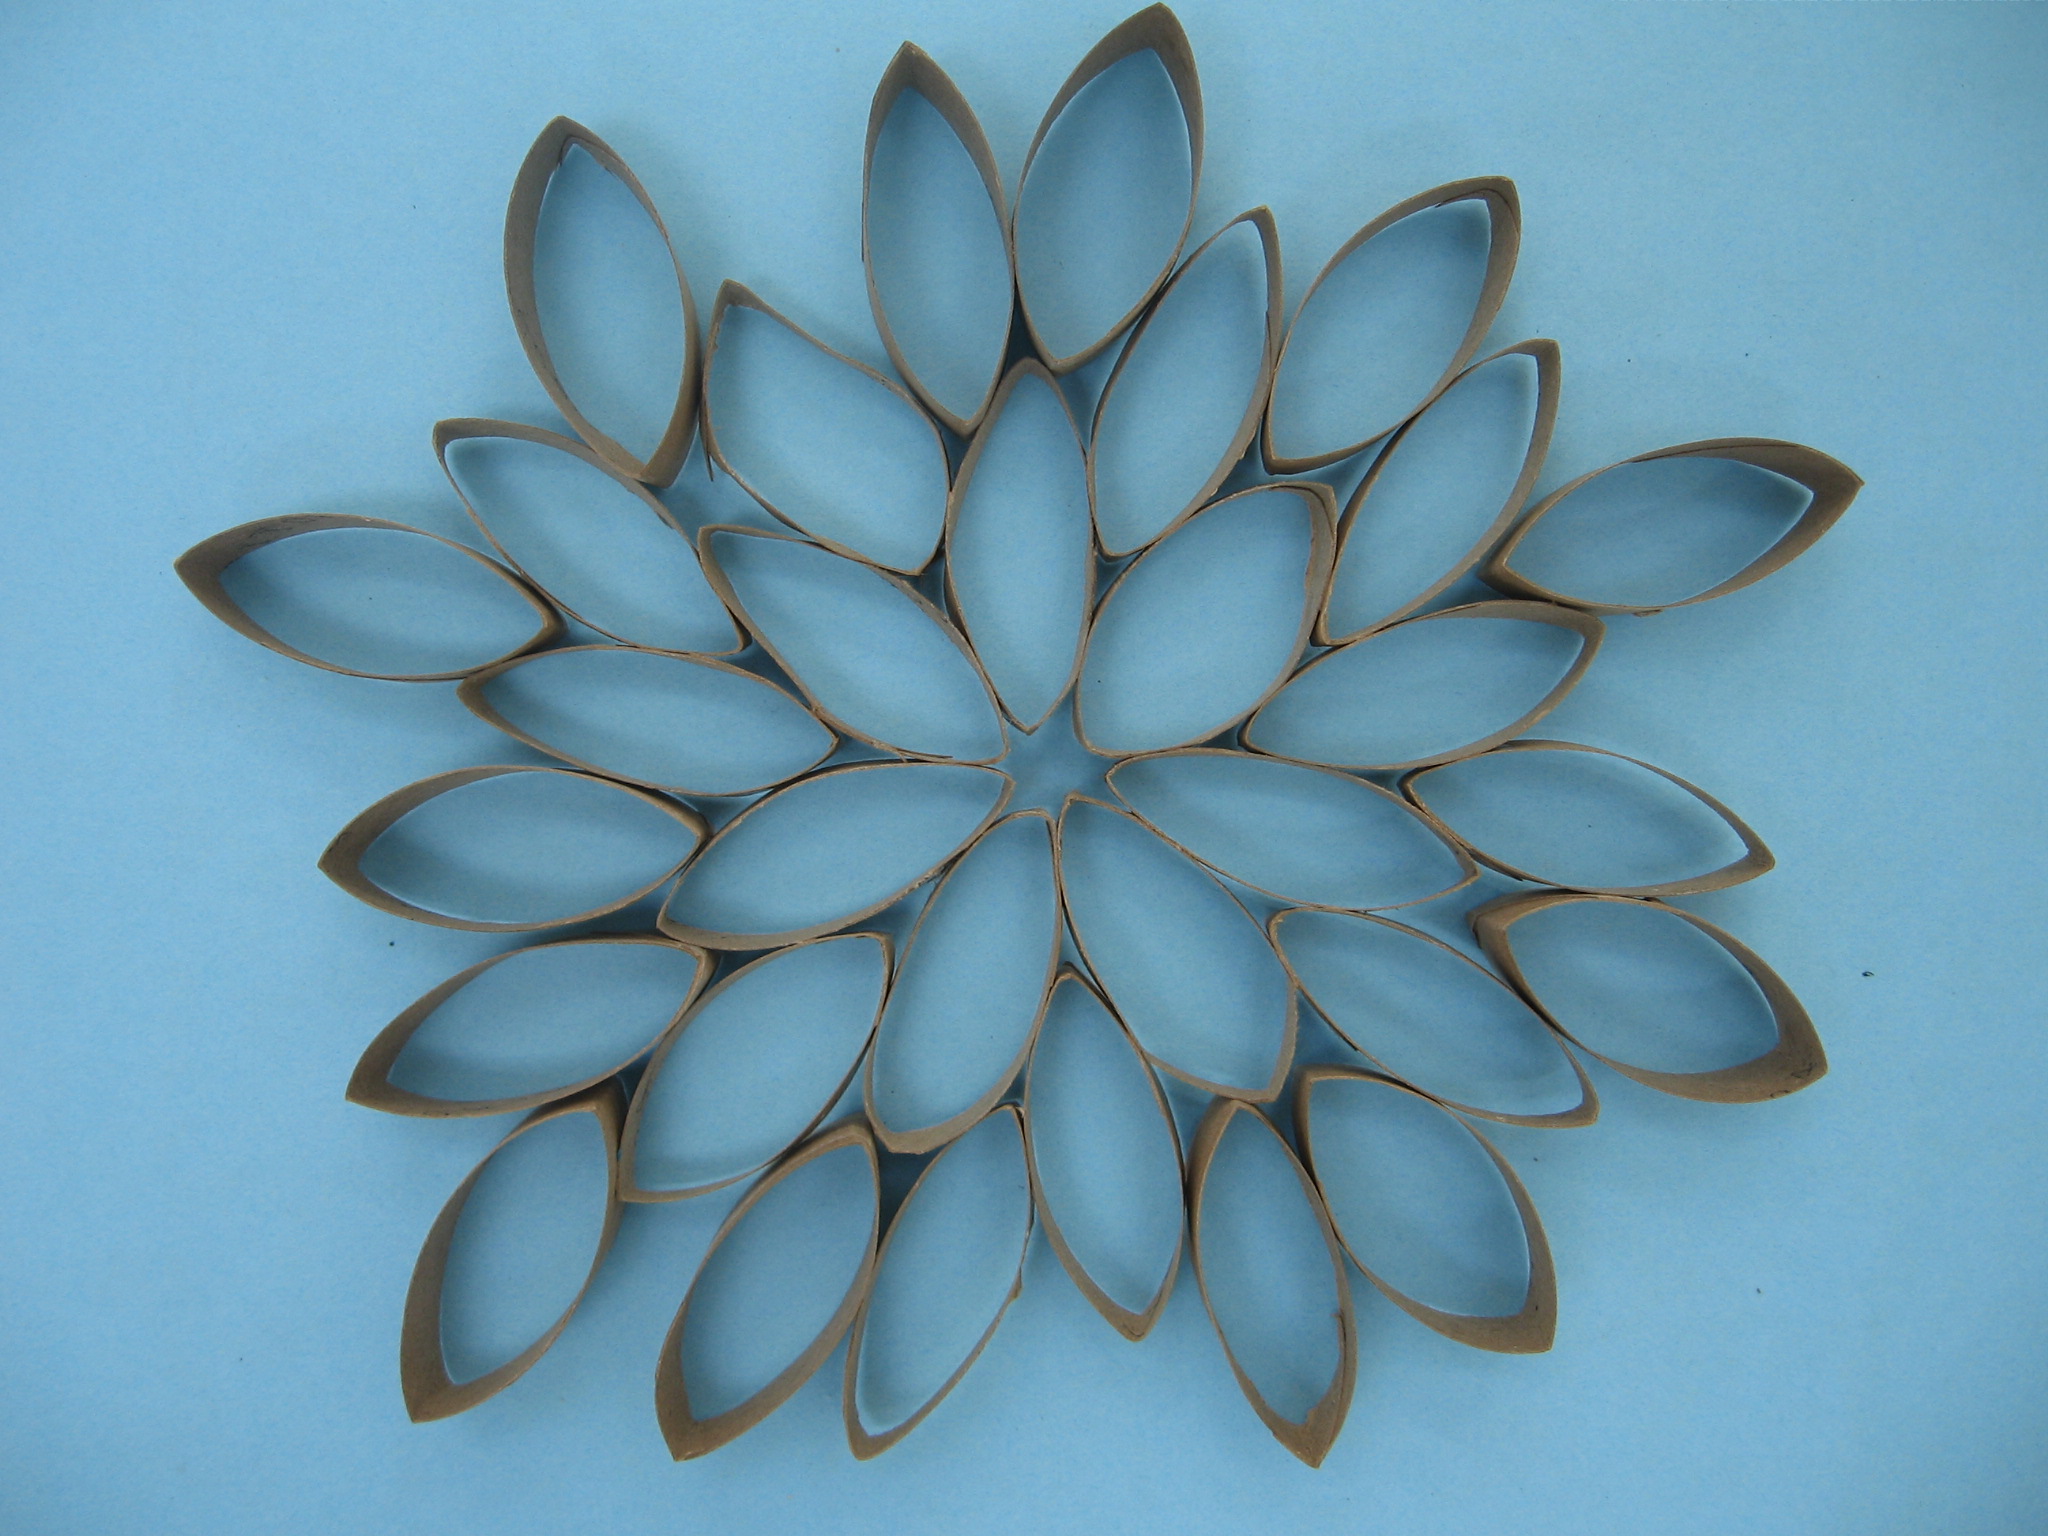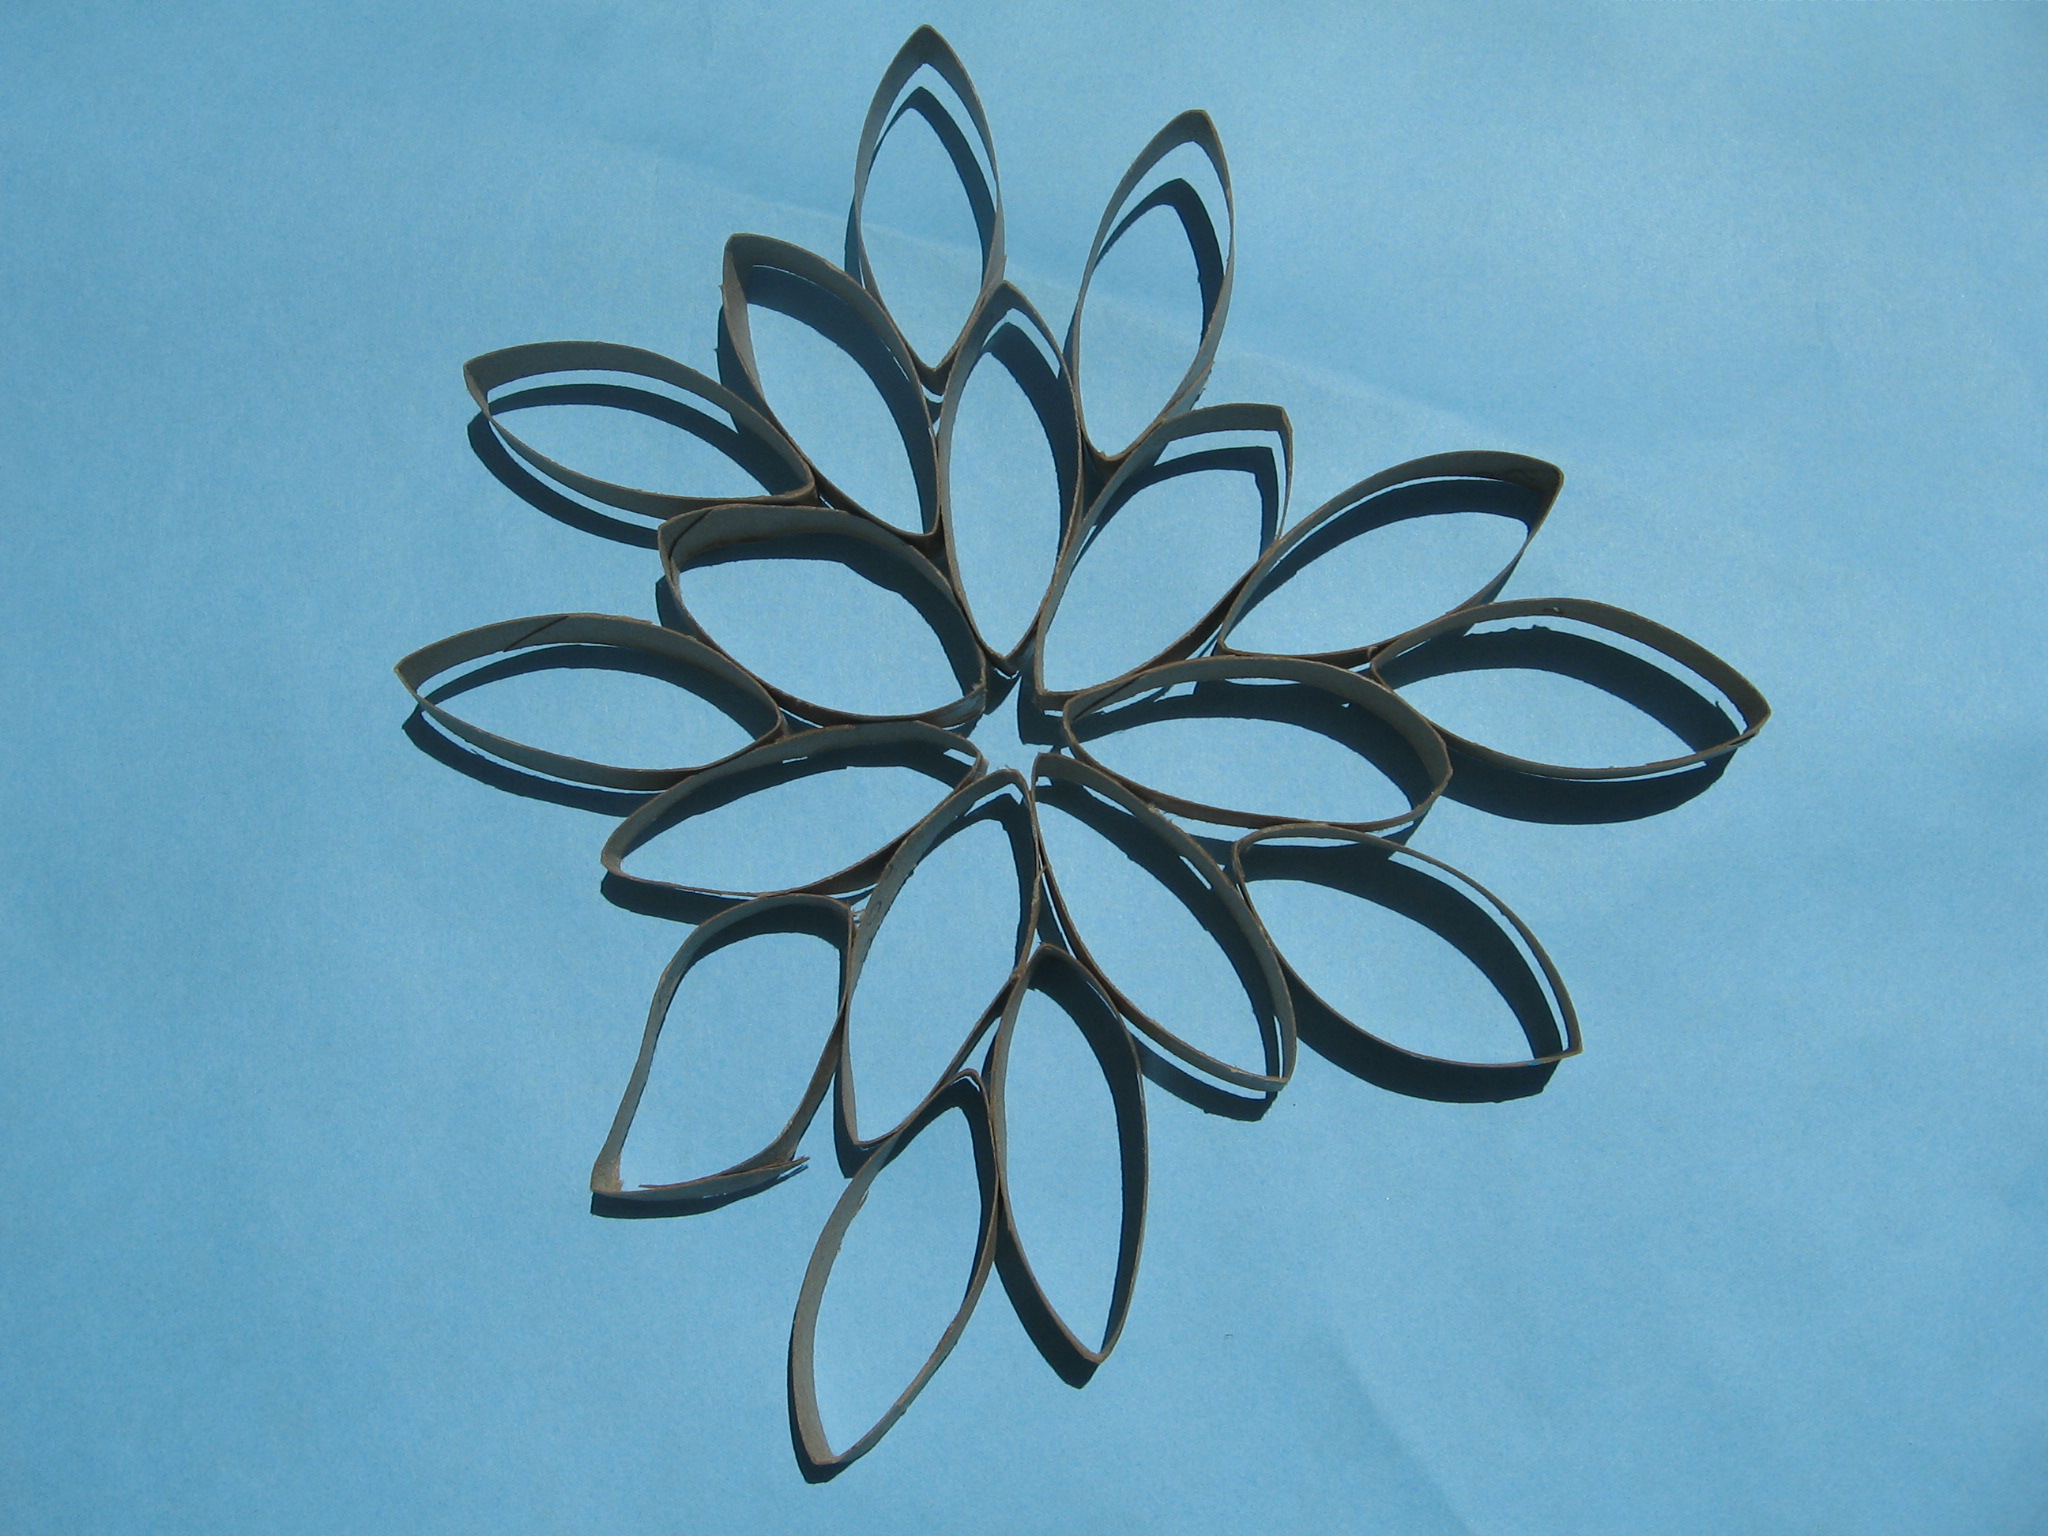
This juicy text has been updated and enhanced. Enjoy!

For young children, art making is a primary means of expression. It is how they are able to share stories and it is how they reflect on their experiences to better understand their world. As a parent and teacher, it is often the adult’s responsibility to foster their interest as an artist and help them to grow as a well-rounded, happy individual.
Let’s explore ways to make art experiences magical and productive.
OBSERVE AND LISTEN WITHOUT JUDGEMENT
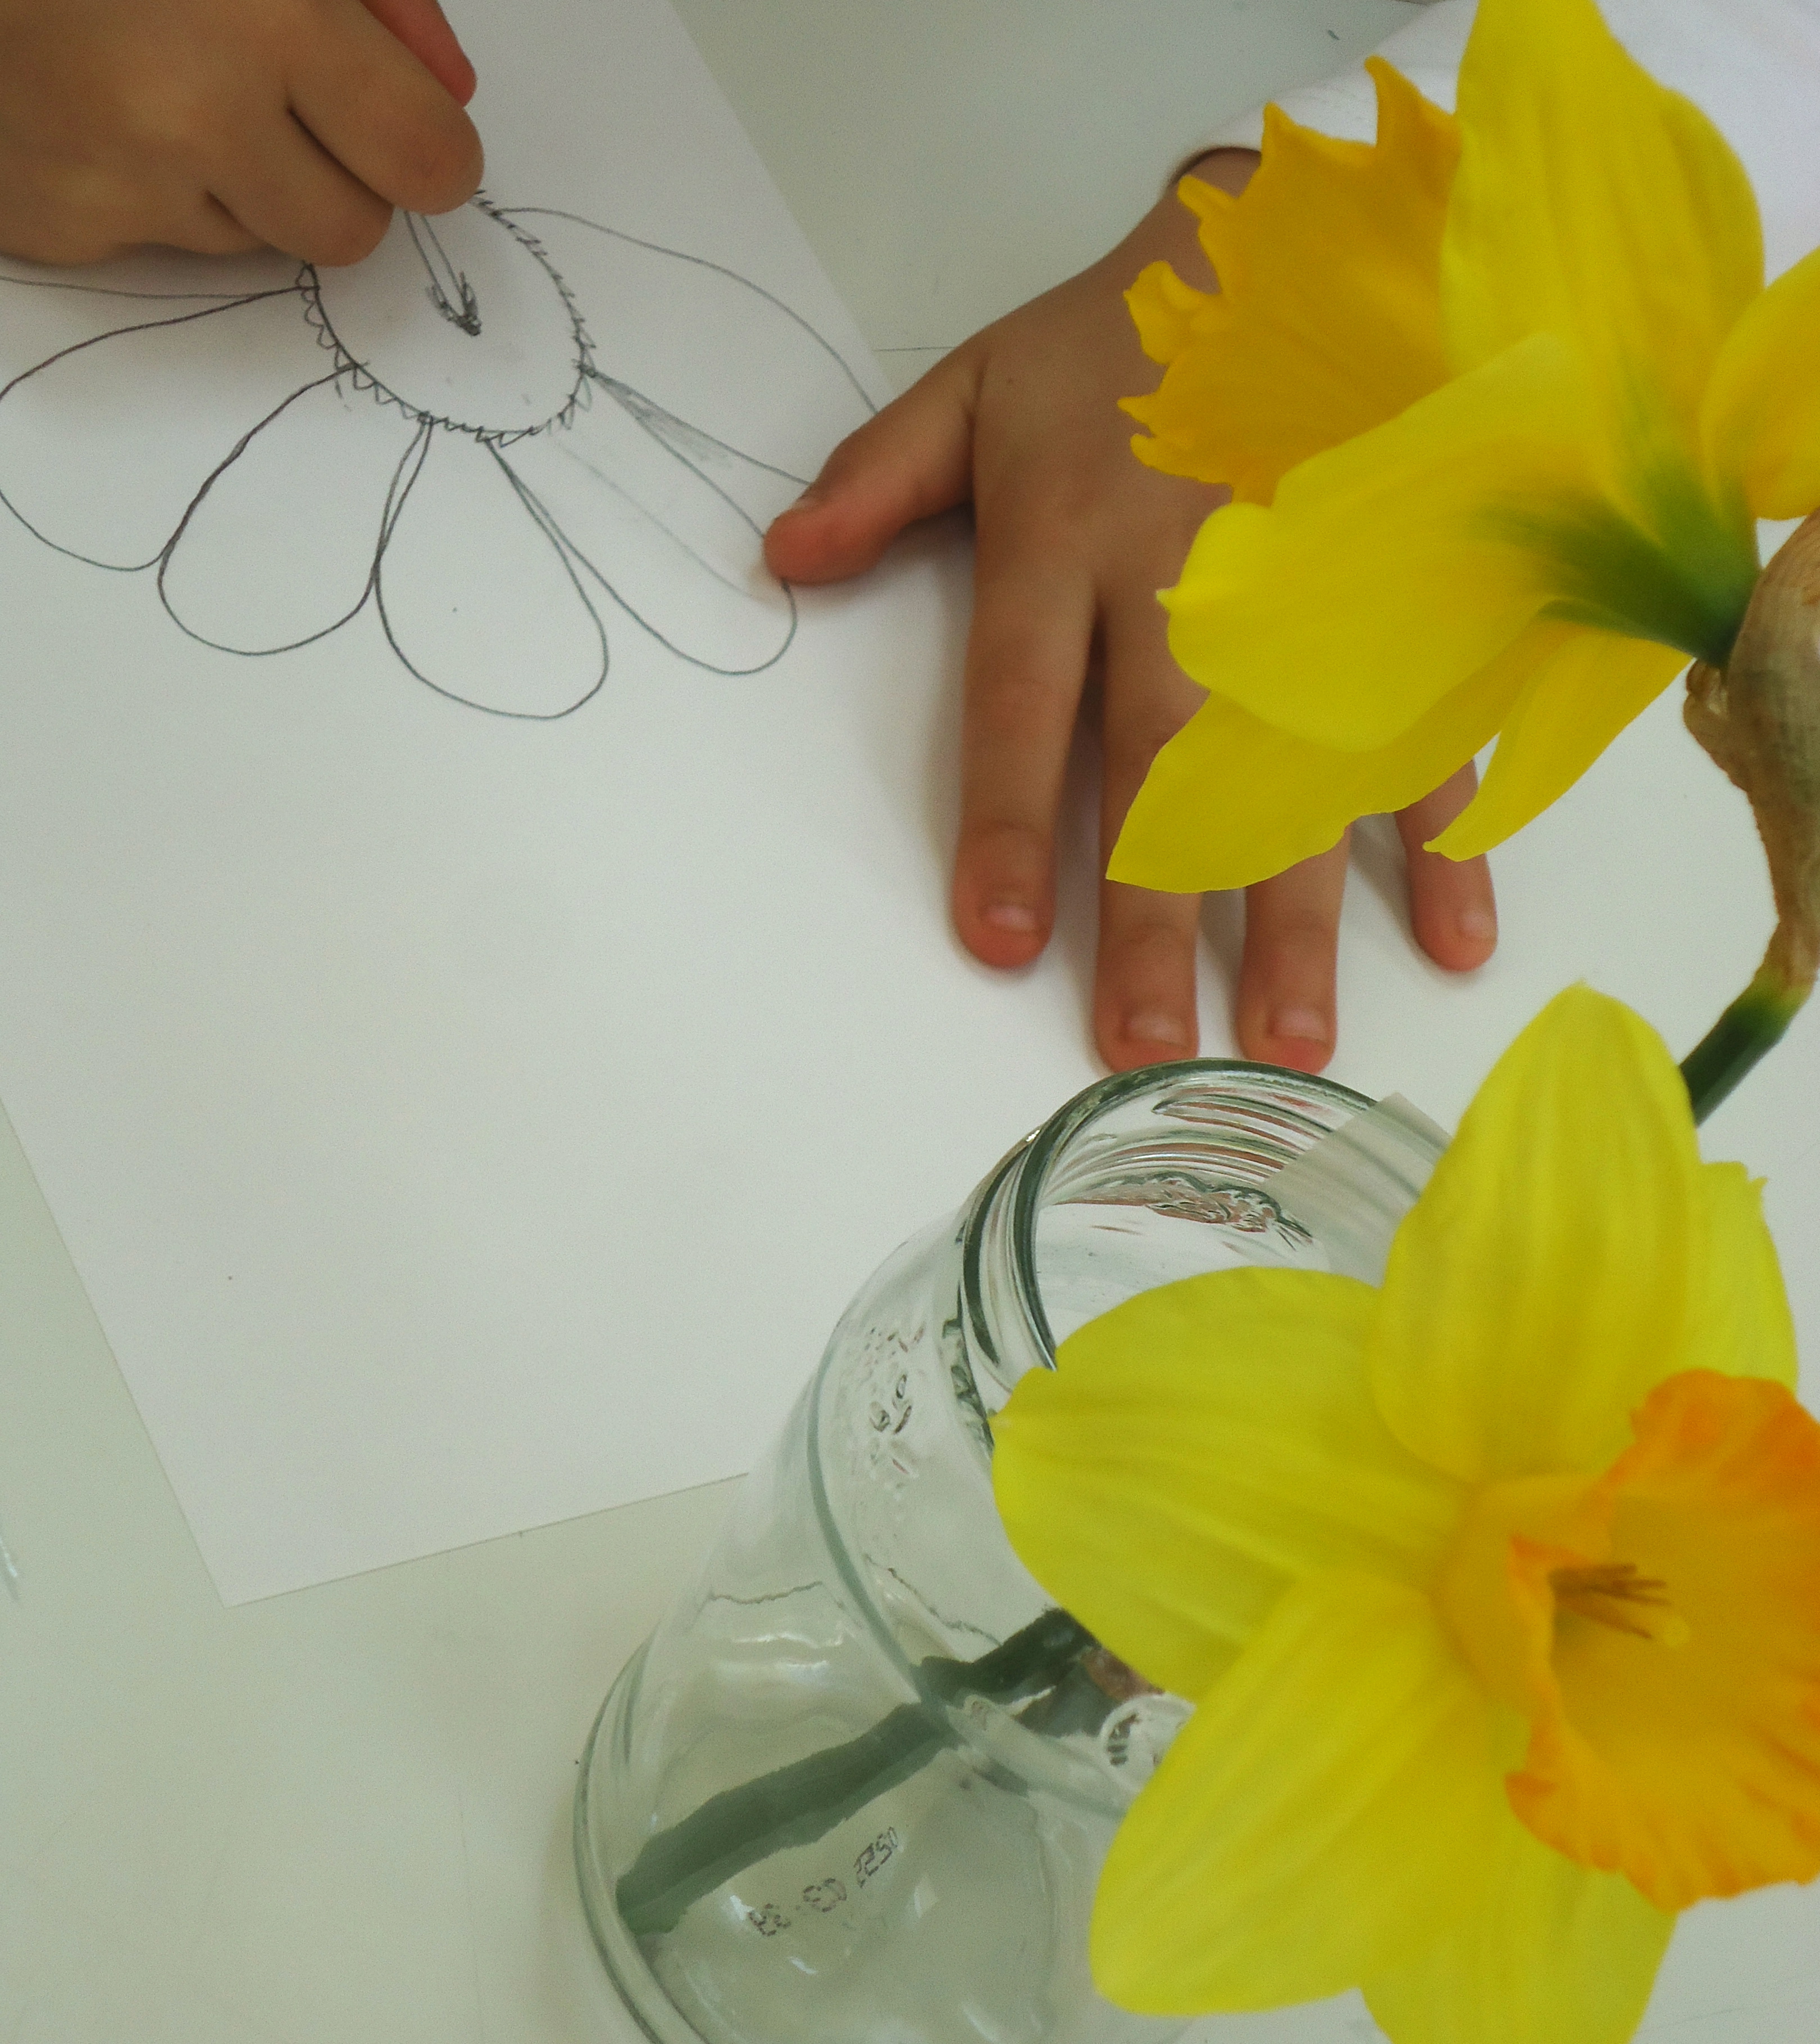
When engaging in art activities with your child, study how they work and look for strategic placement of lines, shapes and objects. Look for gestural strokes of the brush and how they chose to use tools and materials. Notice their working habits and talk to them about it as they work. This builds their vocabulary and also helps them to be a mindful and reflective artist. Art Note: If you down for a big clean up, allow children to explore painting on their own before offering appropriate tool use. They may even teach you a new way to engage with a material. I have songs and phrases that help my students practice skillful tool use. I love to match a phrase or a direction to song or simple tune. I find the students retain much more because they repeat back the tune and the words that go with it. Humans are inherent music lovers and respond well to tonal changes in your voice.

ENGAGE A DISCUSSION BASED ON YOUR OBSERVATIONS
When you notice specific colors or shapes in your child’s art, tell them what you see: “I notice straight lines moving out from your circle.” Or “This blue line travels up and across your page and ends in the opposite corner.” Trace your finger over the object you are describing. This will not only give them vocabulary to use but will also let them know that you value their art, which is an important component in building self-efficacy. If you are ever unsure as to what your child’s art represents, simply say “Tell me about your drawing/painting/clay sculpture/etc.”. You should avoid asking “What is that?” because, for a young child, it may not BE anything but a visual expression of a kinesthetic experience of paint, brush and paper. Furthermore, and also with older children, this question has the potential to infer that their attempt at clearly expressing a story has failed. Again if you are unsure, look for marks, colors and/or figures and construct a question that is focused around what stands out to you: “I see many energetic green lines in the center of your page. Can you tell me more about that?”
If you would like to prompt a new way to create or a new use of color, make a suggestion like: “Wow, you have a large collection of red circles nested close to each other over here. Would you like to add more detail over there?” “You seem to enjoy painting with yellow; how about rinsing and exploring some blue paint?”
PROCESS AND PRODUCT
When your older child brings home a finished work of art, engage them in a discussion about the goals they had while developing their idea, if it changed throughout the process and if they believe they met their goal in the end. Ask them if they faced any challenges and, if so, what strategies they used to work through them. Talking through the art process allows the artist to reflect on their actions which has many benefits. The act of reflecting gives us perspective, helps us to learn from our mistakes, allows us to generate new ideas and also makes us aware of our strengths and how we may share them with others. As parents and teachers who engage in reflective discussions with children, we also discover so much about their work habits, passions and even challenges that we may not have know by simply viewing the work. As the viewer, at times, we may place too much emphasis on the end product and what it looks like. Yes, the visual arts are well known for beautifying our living spaces. However, for the artist, the process, or the act of dreaming, designing and creating, is what they are most passionate about and why they persevere. “Every picture tells a story, don’t it?” Let’s discover what each work of art holds inside.
NURTURING A GROWTH MINDSET
I will often lead a discussion about the power of positive thinking with my students where I talk about the plasticity of the brain. I tell them about an article I read in TIME magazine that proves how our brain can be affected by something as inconspicuous as a simple thought. Read the article here. I elaborate on how a negative thought can have an impact on our performance just as a positive thought can be a helpful motivation. I explain that if we say to ourselves “I can’t do it, I can’t do it” over and over, our brain will actually not be able to fulfill the task. We failed because we told our brain to fail. However, positive thoughts, affirmations and motivating words will help us achieve success. Taking small steps that lead to a complex finished piece will help form an enjoyable art experience and empower us to take on new challenges.