Do you have paper? Do you own scissors? How about glue?
Have you caught the holiday spirit? If you answered “tak” to all these questions, then you are familiar with the Polish language and are already prepped for making this stunning paper star. Oh yes, a ruler or a straight edge will help too.
Paper cutting is a decorative art from that is traditionally popular in Poland. During difficult times in the early to mid 20th century, when the production of elaborate glass ornaments was put on hold, people in Poland would save paper scraps and use it to produce holiday decorations. This tradition boosted holiday spirit and also helped everyone to appreciate simplicity.

This paper star was made from just 6 small square sheets of paper. Can you believe it? The versitility of paper fascinates me. I think of paper as such a delicate material, yet it has so much potential for sculptural creations.
Would you like to make one? Here is what you will need:
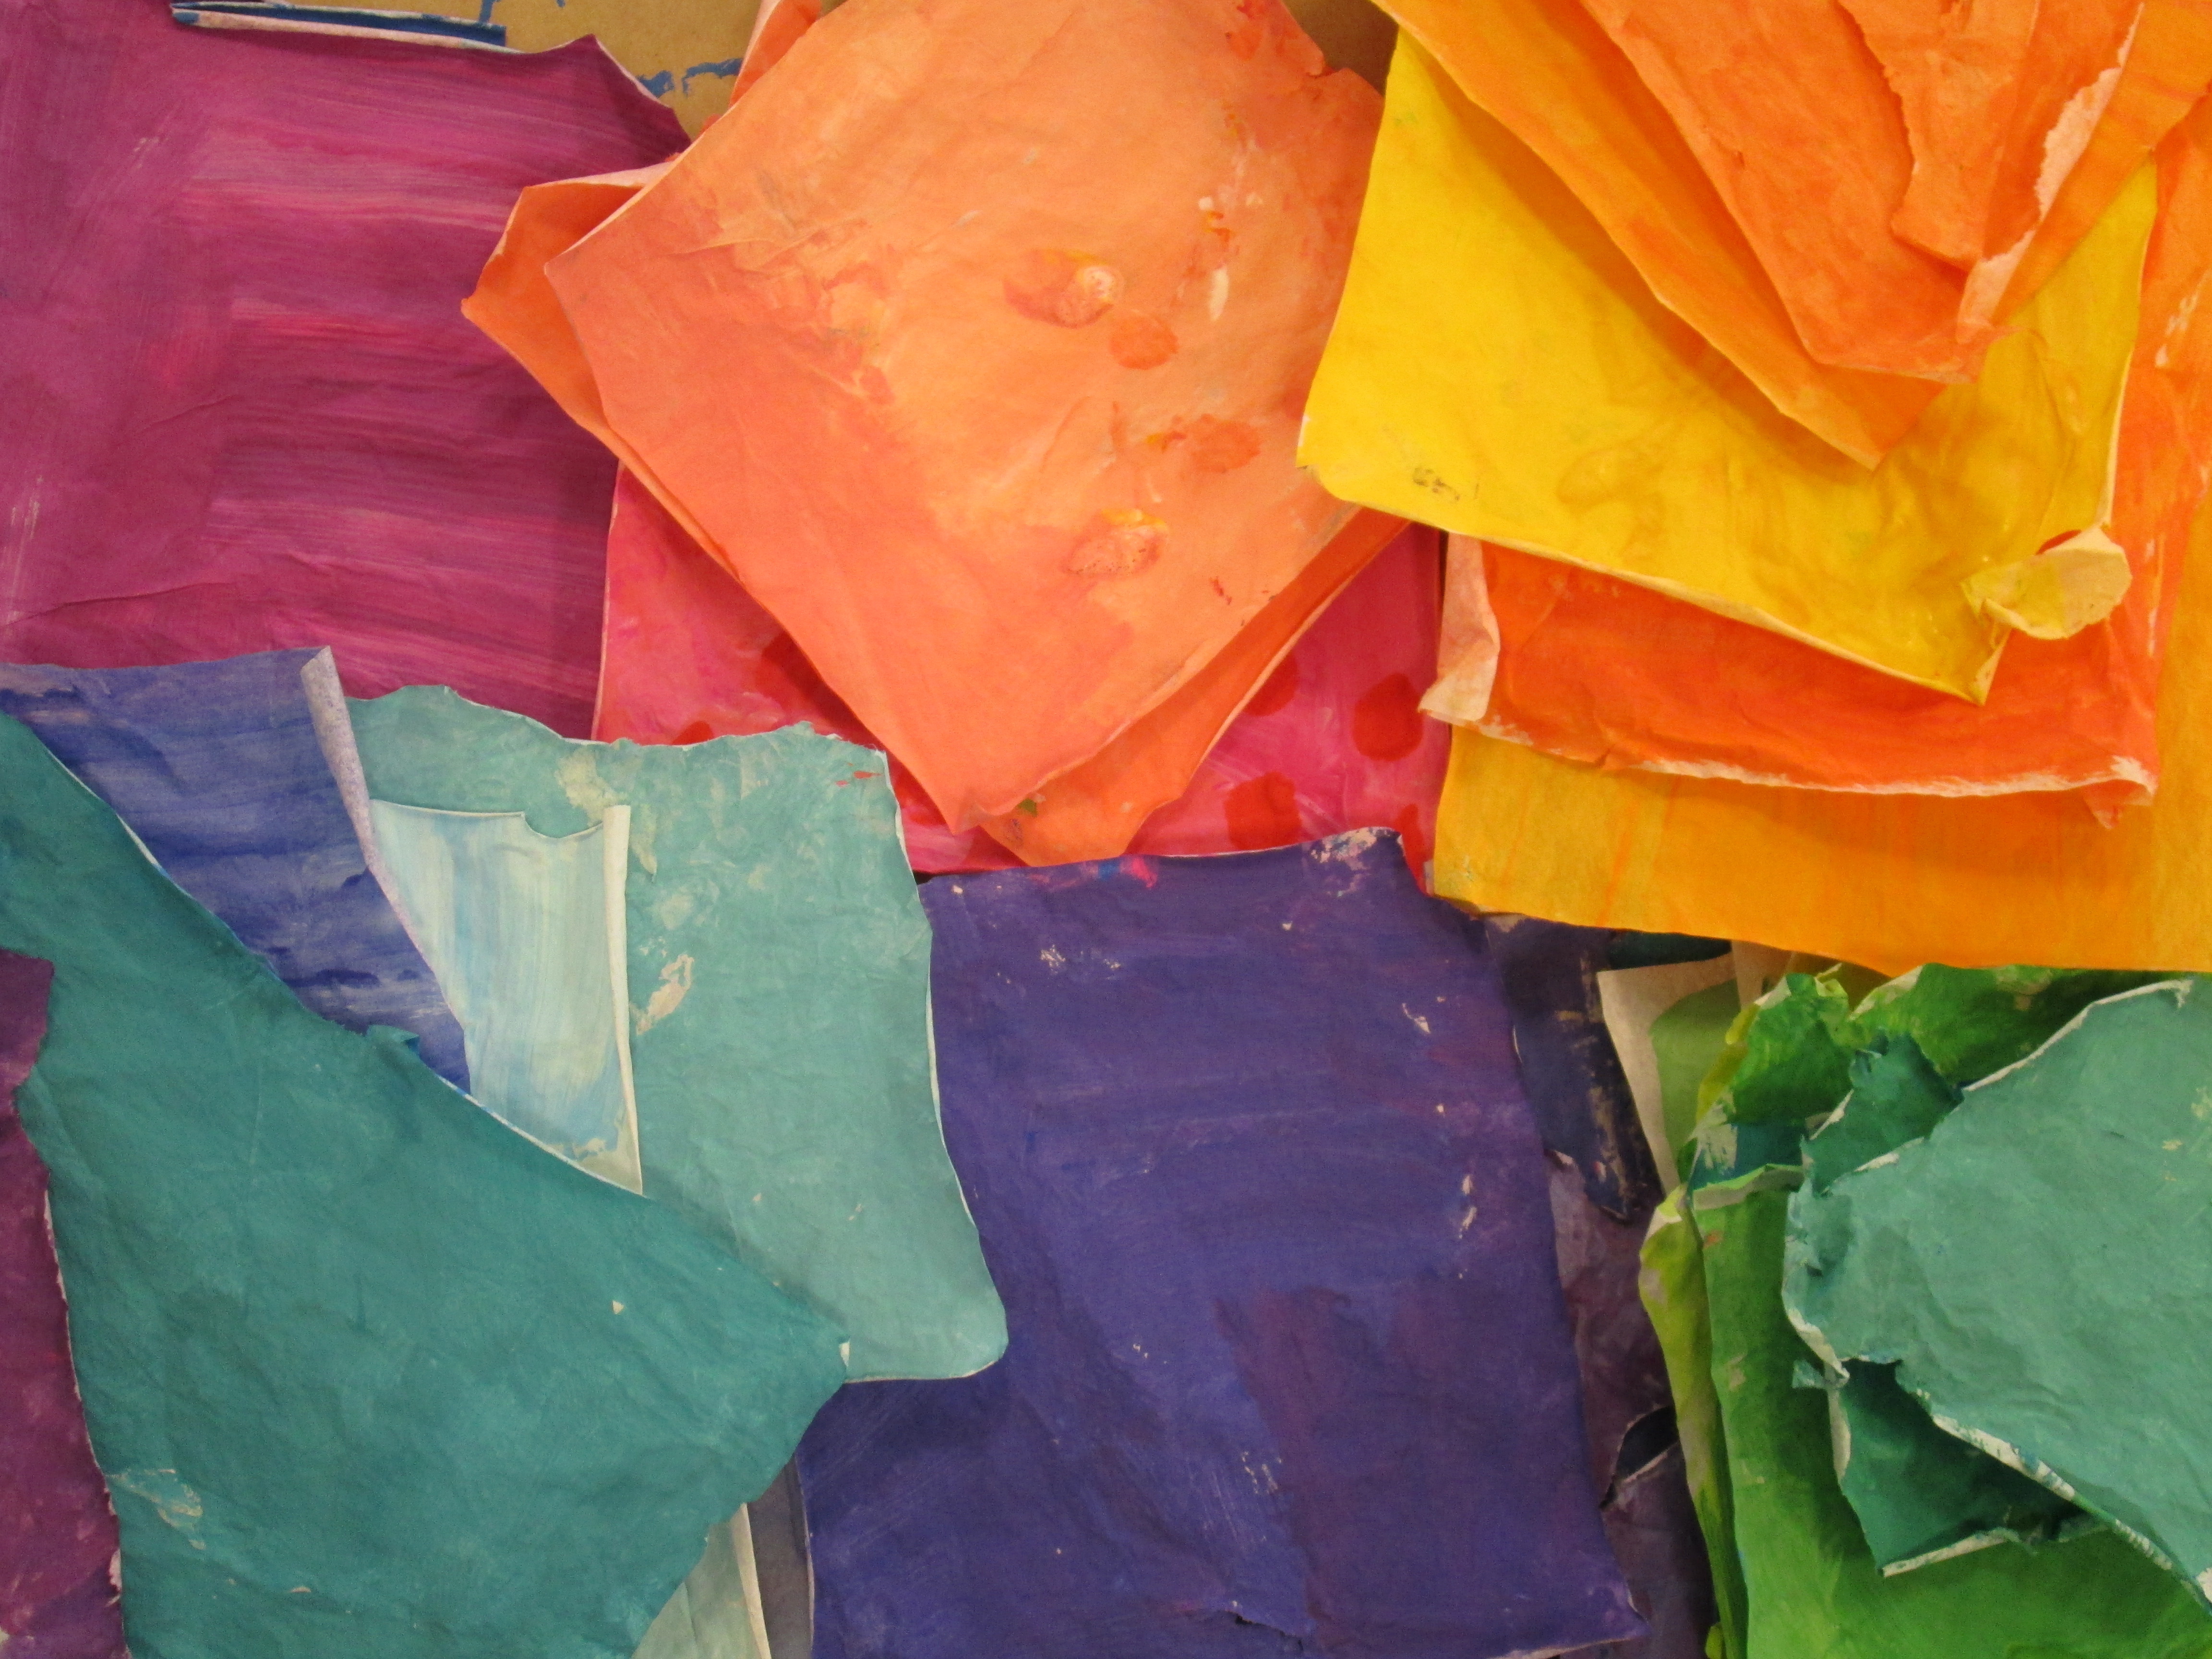
6 square sheets of any colored paper of any size larger than 7 inches
(I used 9 inch squares for this tutorial)
scissors
glue (I like Aleen’s tacky glue)
a ruler
a pencil
and patience


Fold all 6 sheets in half on a diagonal to form a triangle. Fold in half again, to form another triangle. Then rotate each triangle until the hypotenuse (the longest side) is parallel with your belly and grab your ruler and a pencil.
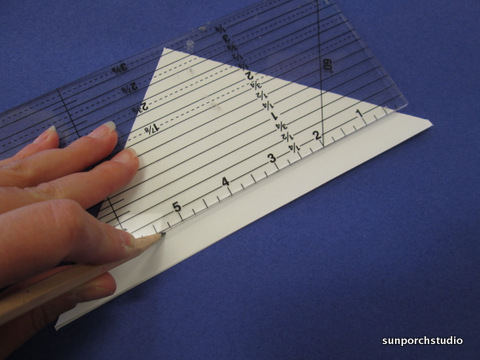
Using your ruler, you will need to draw 5 lines on each triangle. Each line will be parallel with the hypotenuse (the longest side). These lines are guidelines for cutting slits in your triangle, therefore they should be ghost lines, or very lightly drawn. I drew them with black sharpie in the image below because I wanted you to see them easily. Don’t do that. Please.

Notice how the lines are parallel to the hypotenuse. They are also an equal distance apart from one another. Draw your lines beginning on one side of your triangle and ending just before the other side. Be sure to stop your line before the edge of one side because soon you will cut on these guidelines and you must STOP before you reach the edge in order to form slits.


Carefully cut on each guideline, starting on the side where the marker touches the edge and ending about a 1/4 inch before the edge of the other side. Your triangle now has 5 slits. Draw your guidelines and cut slits on all six triangles.
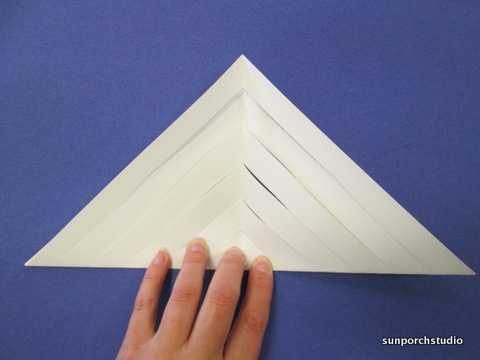
Carefully open your triangle and…
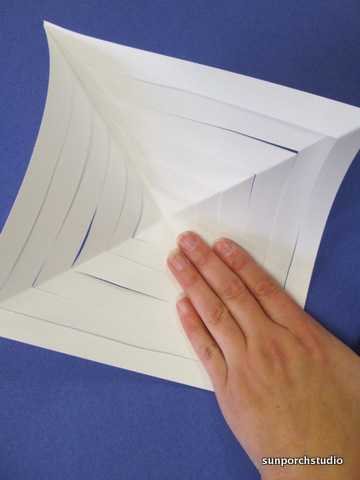
open it again and flatten it into a square with triangular slits.
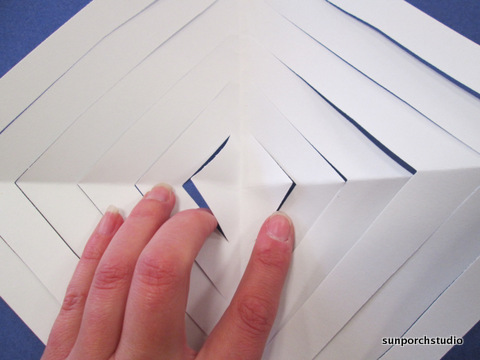
Now you are ready to transform your flat square into something 3-D. You will do this by connecting the triangular pieces that sit opposite of one another. My hands is reaching for the center two. Always begin in the center.
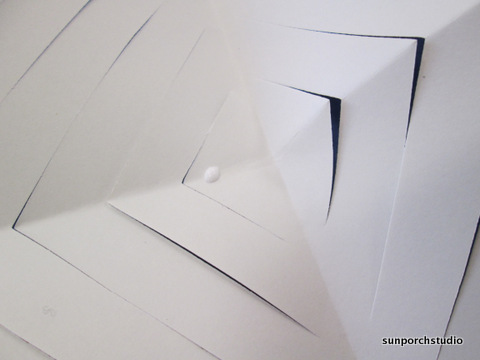
Put a small amount of tacky glue on one point as shown above. I like to say “a little glue goes a long way. If you use too much you will be waiting ’till next Tuesday”. My students say “not a lot, just a dot”. What I really mean to say is…don’t use a lot of glue. A small amount does the trick.
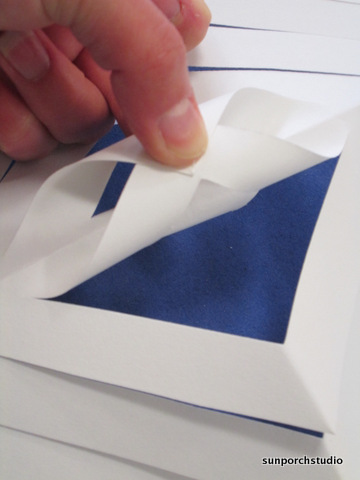
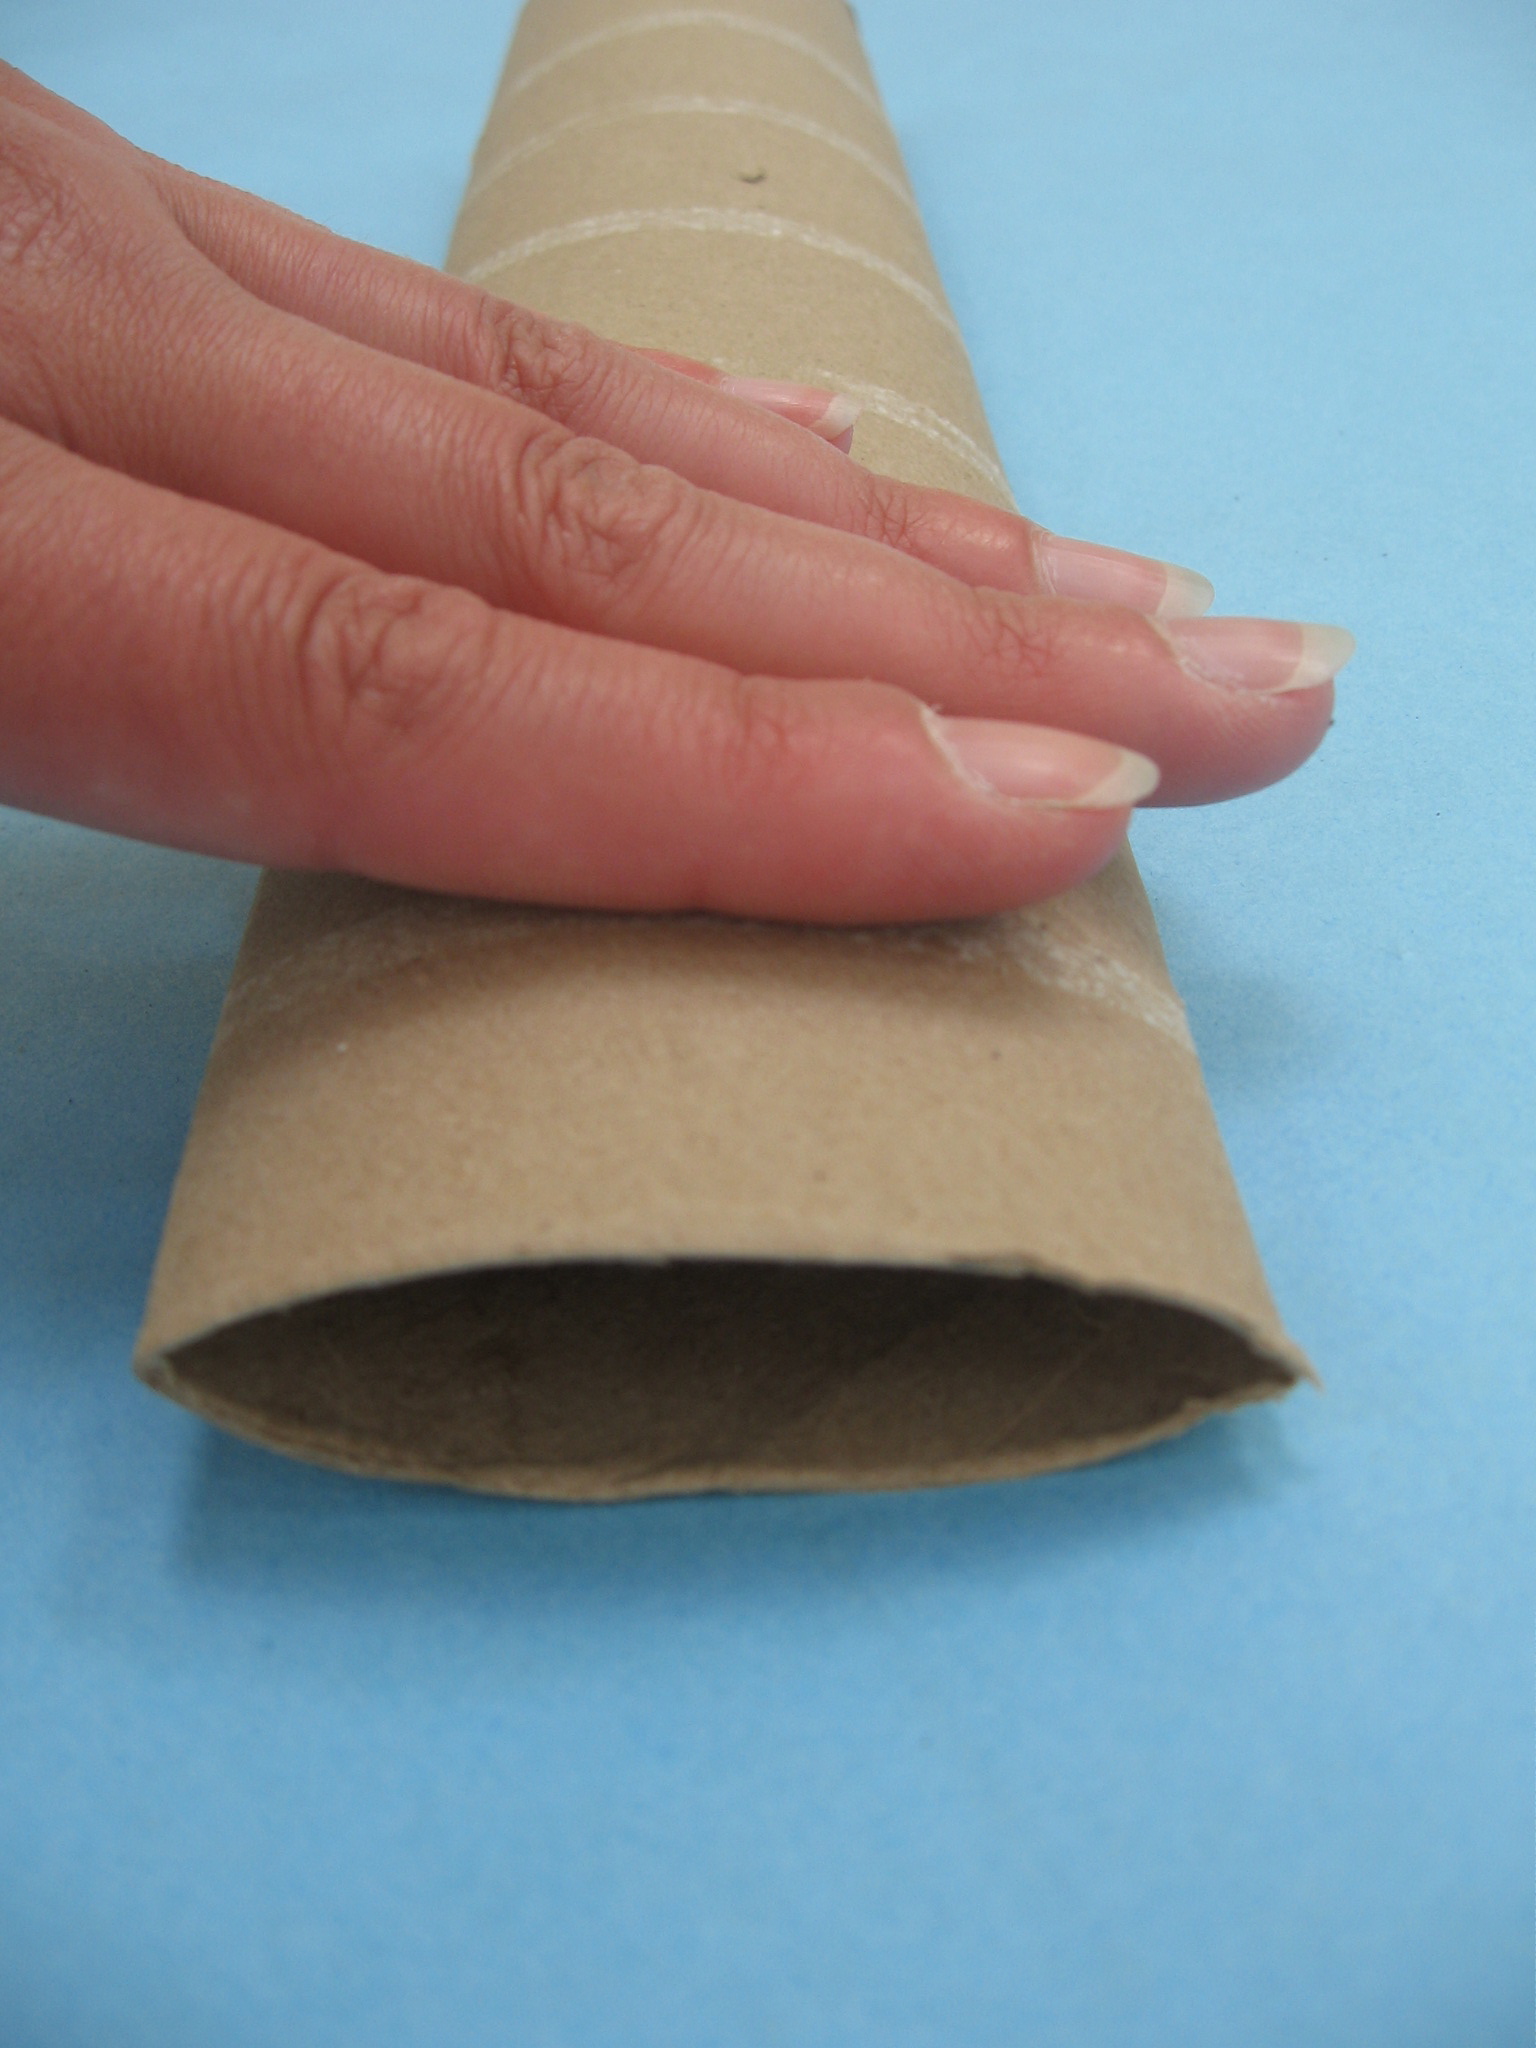
When connecting two sides, be sure to roll, or wrap the paper over one another. This creates a cylindrical form and is not only what makes the star pop into a 3-D form, but also helps it to stay strong and sturdy.
Do you notice the sculptural form starting to appear? Magical, right?
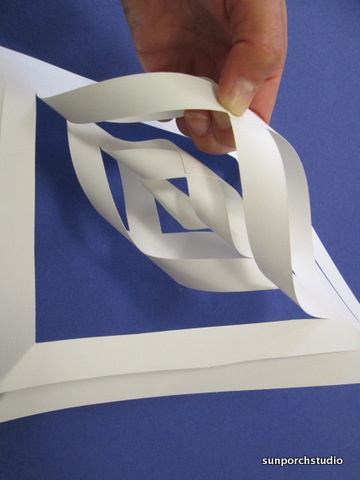
Once you finish gluing the two center triangles, you will move on to the next two that are closest to the center, BUT you will need to flip the paper over and attach them on the other side. This creates negative space between the parts. Negative space plays an important role in art. In Chinese brush painting it is seen as a resting place and a space to breathe.
Continue connecting the adjacent sides, flipping the piece over with each new connection. Do you notice the flip flop pattern in the image below?
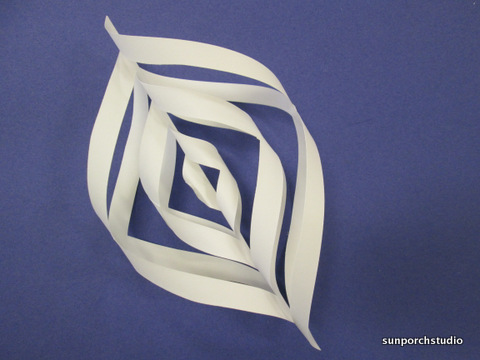
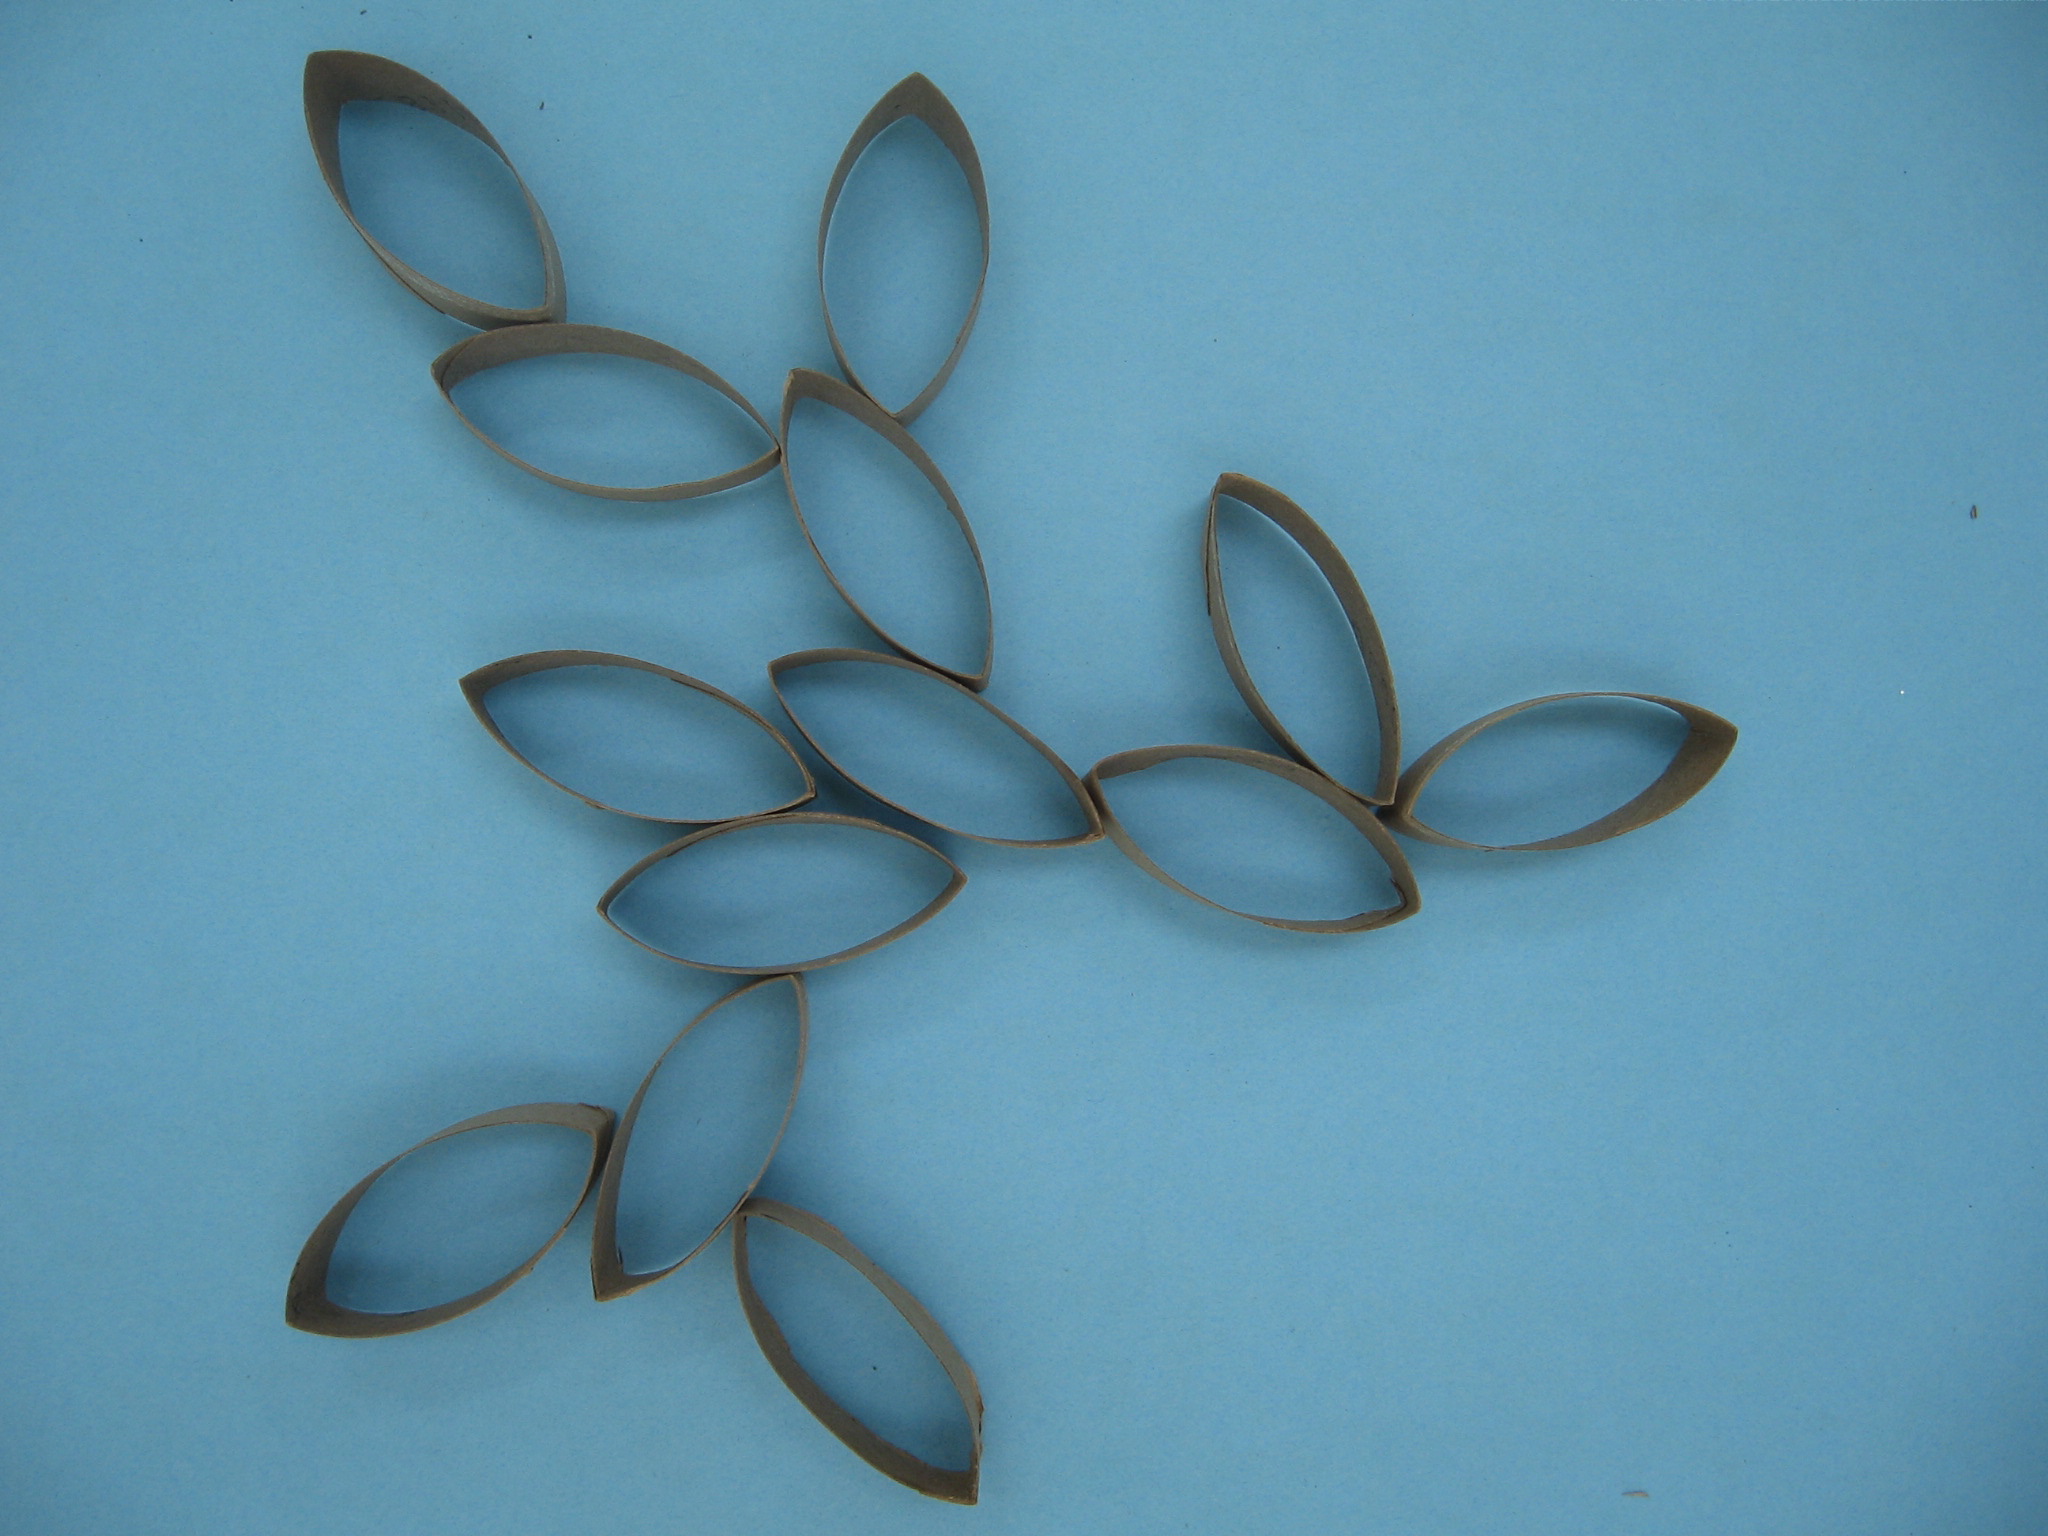
Here is a completed form. A part of the whole.
Look at that sculptural beauty made from just one sheet of square paper!
 After you are stunned by your creation,
understand that it is just 1/6 of the whole.
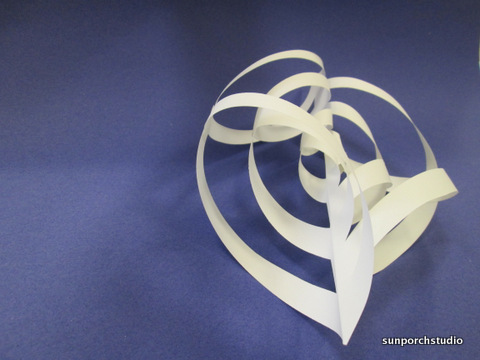
Finish gluing the remaining five triangles
until you have six 3-D diamond pieces.
Just like this gal to the left.
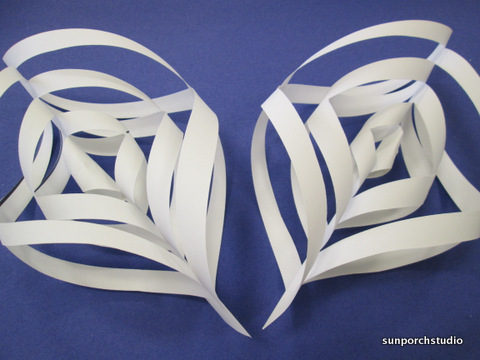
Now take two at a time…
and attach them at the pointed tip.
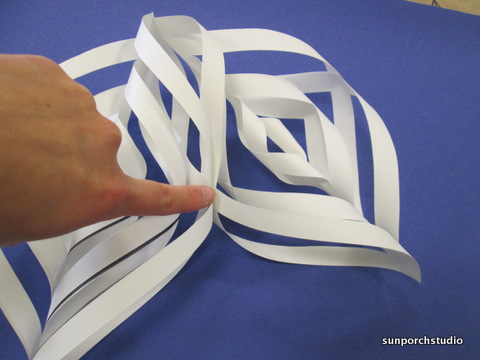
You must also attach them at the middle, which is the widest part of the diamond piece.
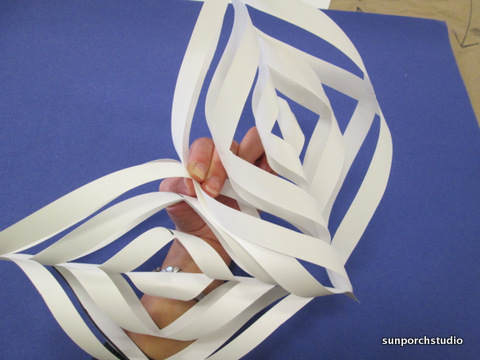
I am holding the middle here. Notice the pointed tip has already been attached.
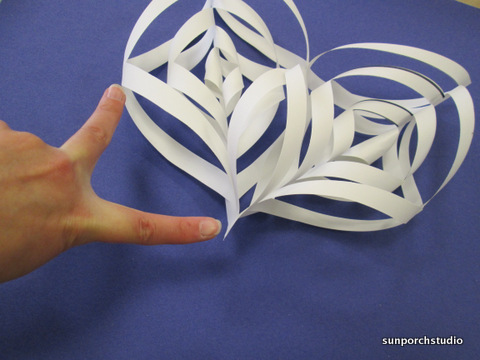
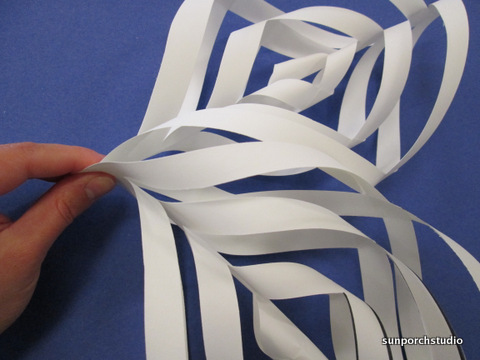
Now attach the two other sets of two diamond pieces. You will then have three pairs of two. Join these three sets together at the point first, then attach the middles.
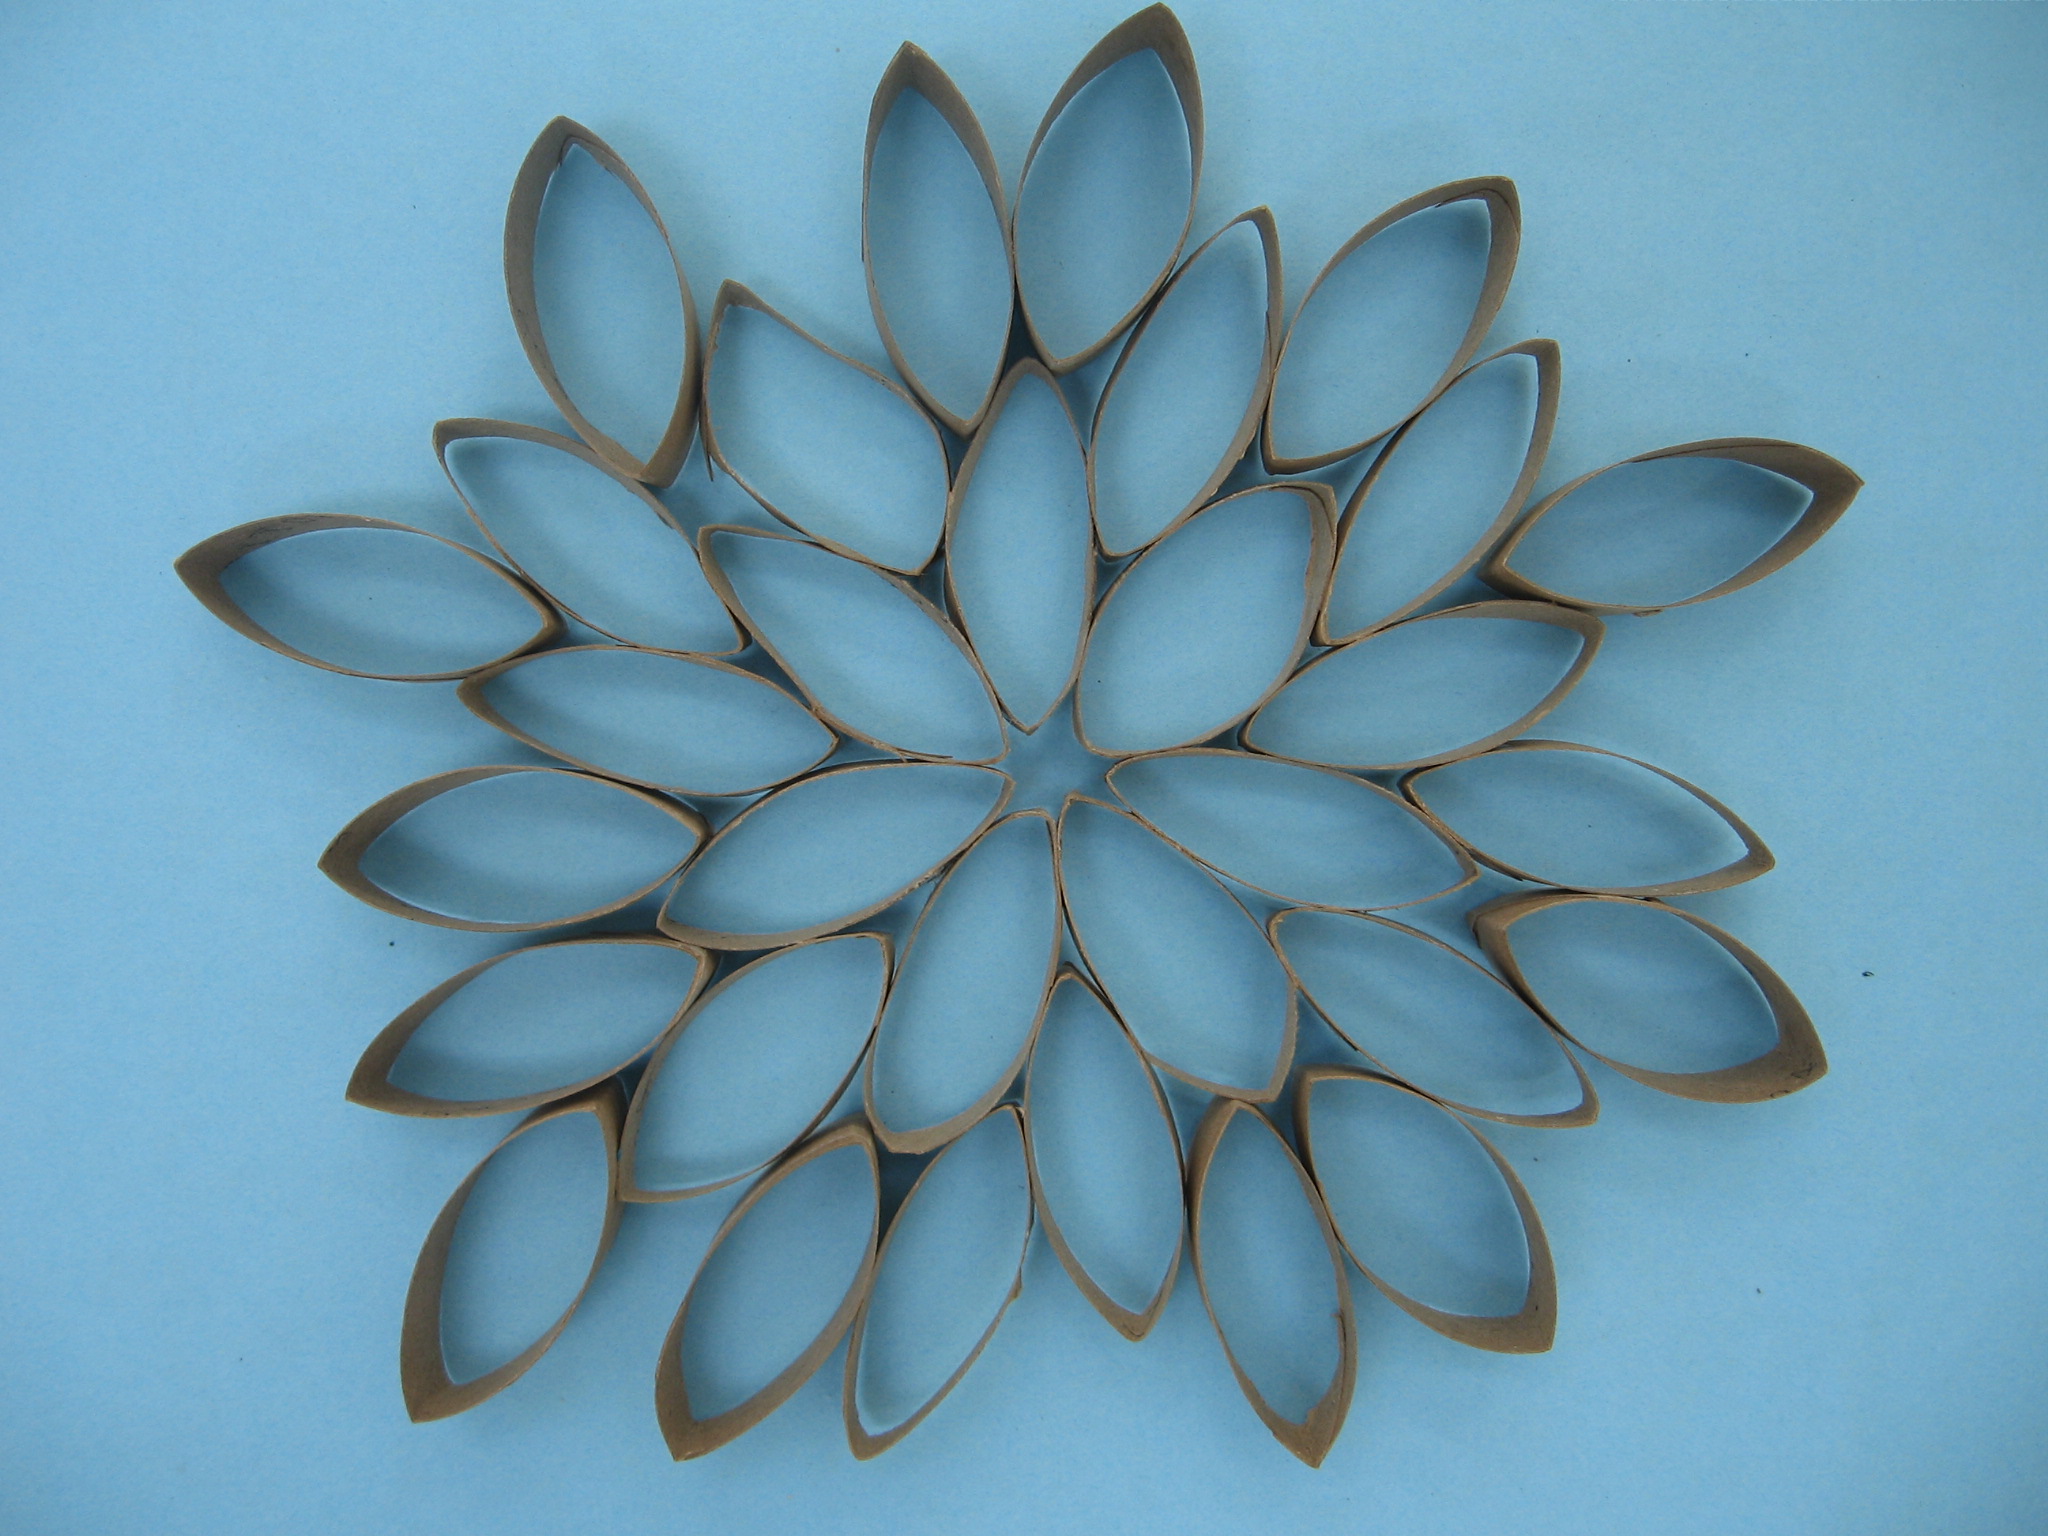
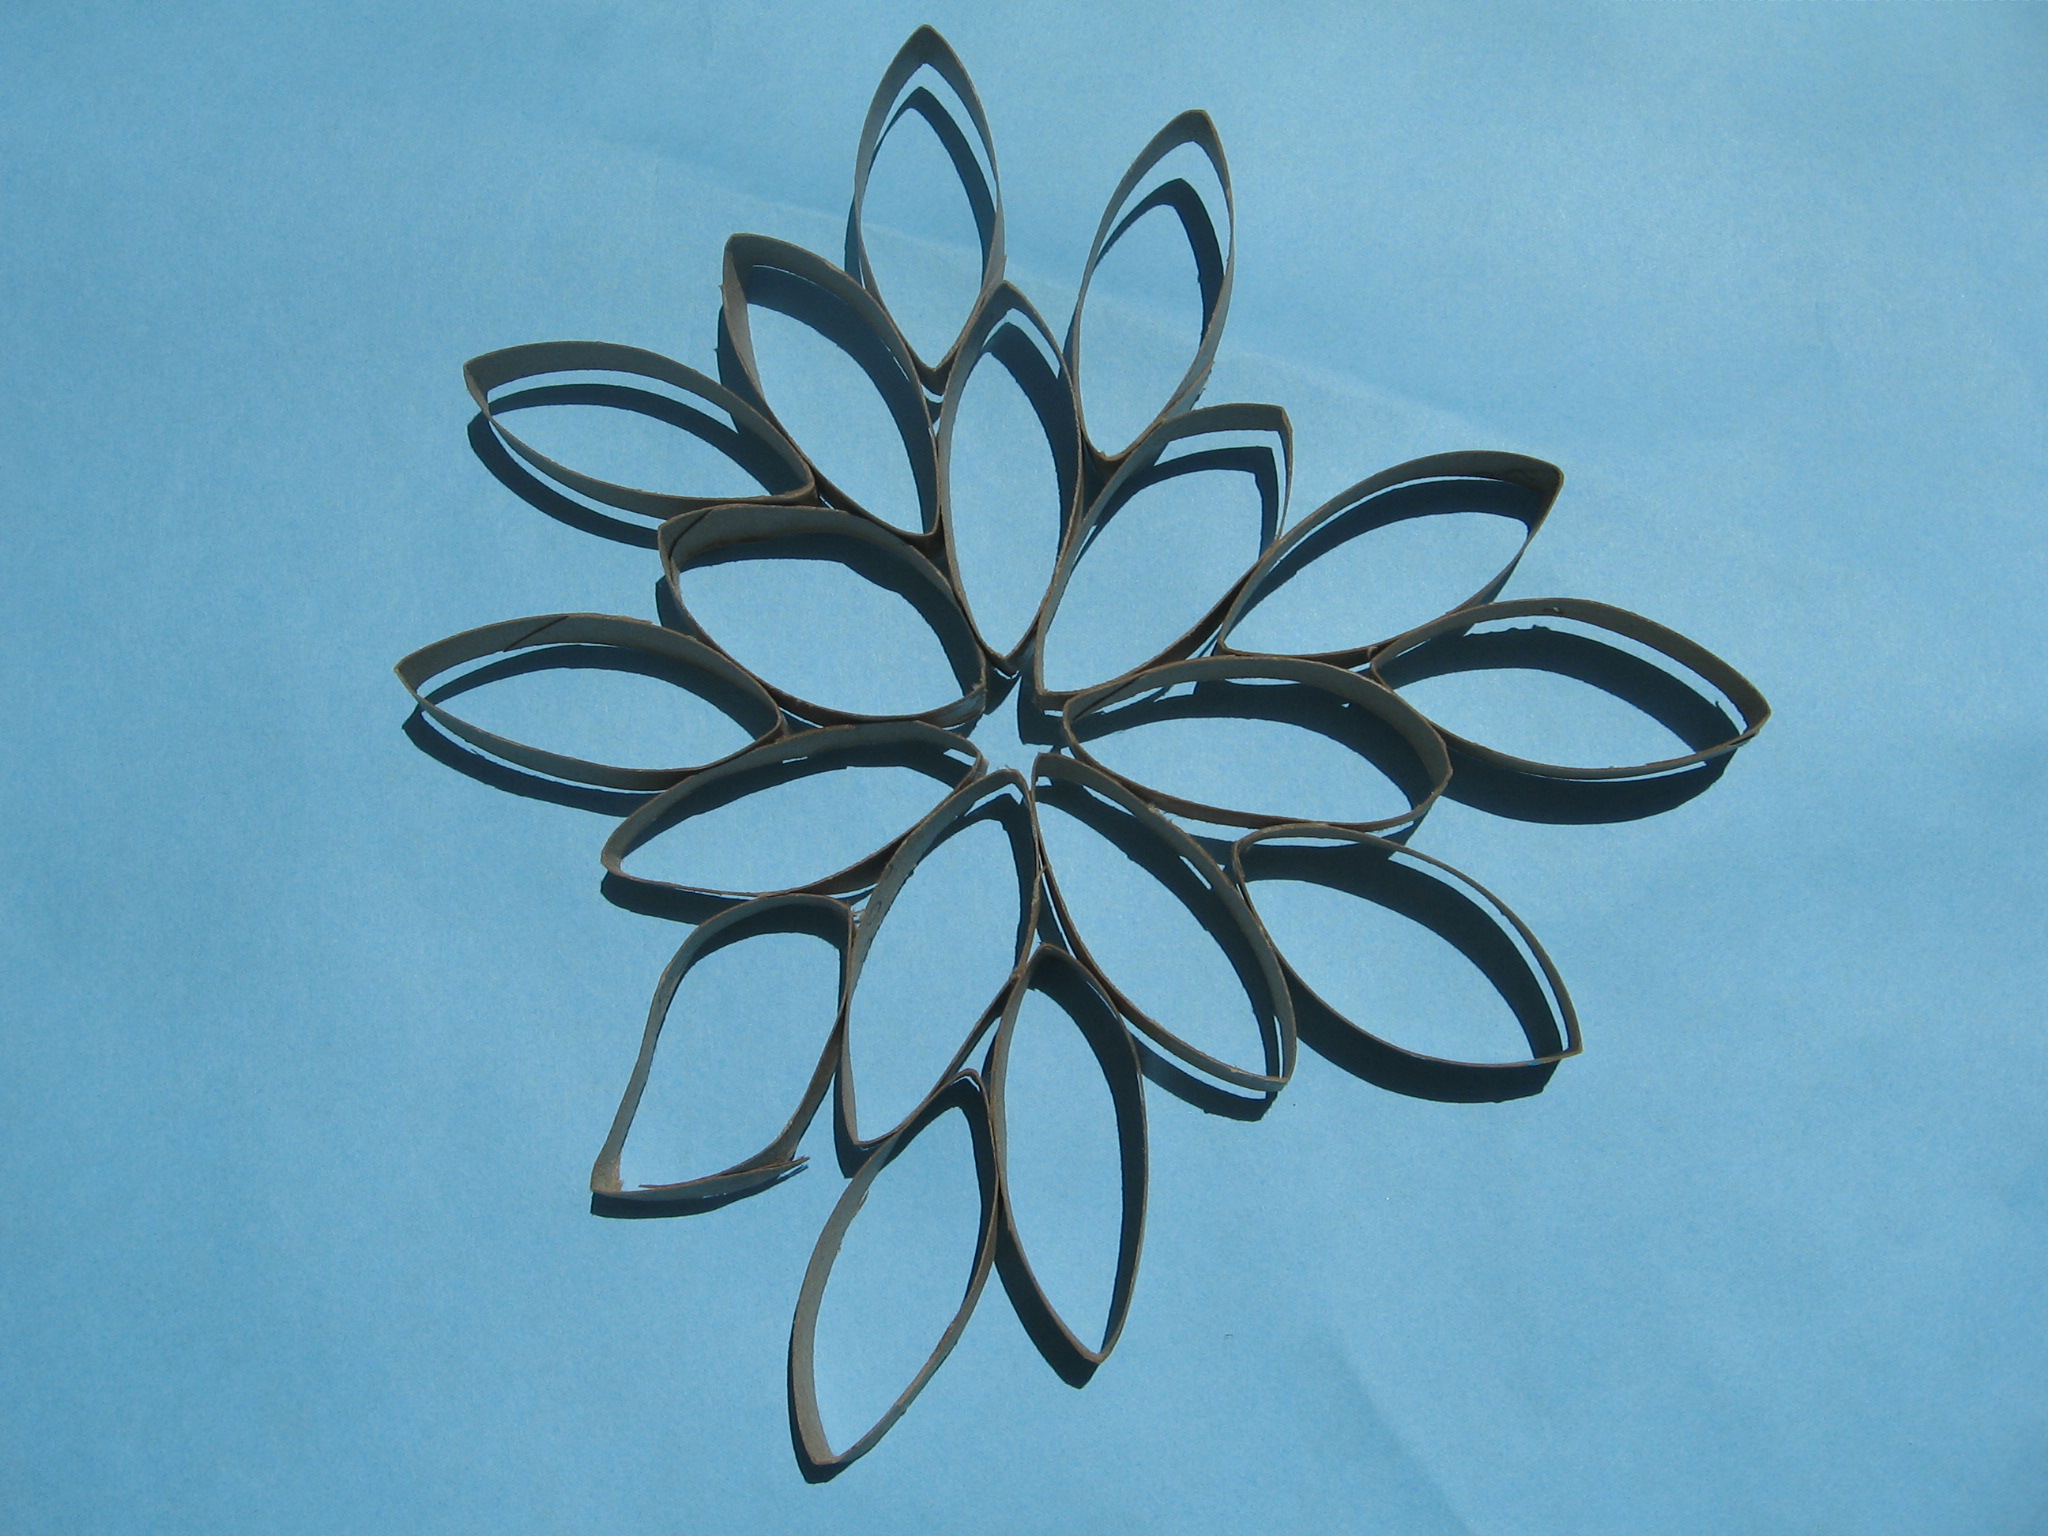
CONGRATULATIONS! You have successfully assembled a gorgeous paper star! Some like to call it a snowflake. You may want to call it a mandala. We all call it ART.
Thank you for reading! I hope you found this tutorial helpful. I am a big fan of the written word so if you have any questions or comments, please do not hesitate to leave a message on the bottom of this post.
May your days (and nights) be merry and bright.
Artfully,
-MJ
P.S. Continue reading below to learn more about the history behind this paper star.
In the early 1900’s decorations became very popular and were mass produced in Poland. Most popular were mouth-blown glass ornaments. It was a magical time for Christmas in Poland during those thriving years. The production was amazing, the demand was literally world wide, and the country thrived through Christmas ornaments.
Unfortunately, World War II hit the country with devastation. The production of the beautiful ornaments dwindled as the country fought to survive. There were no materials to manufacture the decorations and no way to export them as the War raged. People of Poland found any scrap of paper they could find and began to make intricate paper decorations.