being an ART teacher.

-Given by a friend and great collaborator back in my days at Columbia U. What are you up to these days, Ms. Coyne?
Enjoy,
MJ
being an ART teacher.
-Given by a friend and great collaborator back in my days at Columbia U. What are you up to these days, Ms. Coyne?
Enjoy,
MJ
Filed under Inspiration, Teaching Art to Children
 You can try and call my bluff but I can’t remember a year in my life where I have been so head over heels for the nature and colors that make up the autumn season. As a child, the fall meant the end of summer and the start of a new school year hence homework and high-anxiety Sunday nights; I think many can relate. This year, however, holds so much more.

After exiting my car in the early morning and walking through the concrete parking lot, my eyes are distracted by the intense colors that cover the ground. Vibrant reds, fire oranges, intense yellows and that shade of lime that strikes a cord in my heart, sprinkle the earth in pointy geometric shapes. I collect a large quantity and use them for art making and nature explorations in the classroom wherever it supports my curriculum.

Early Childhood artists have been observing the fall colors and singing about the actions they perform in nature during the autumn. I play the xylophone to a simple melody and sing a song I wrote that was inspired by my rekindled love of this colorful season. Children are mezmorized by the gentle high-pitched sound of this musical toy and easily follow along in song and hand gestures.
Listen to the leaves (rest) falling from the trees
1 – 2 – 3 – 4 – 5 they touch the ground (hands are held up high then slowly fall to the ground)
Yellow, orange, green (rest) red and brown
fall colors (rest) cover the ground
With the help of the collection of leaves I found earlier that morning, we have a visual, tangable resource to inspire our art. We discuss the colors and shapes we see and notice that not each leaf is the same shape. Some have three points, others have 5 and this one has, let’s count: 15! As a supporter of Inquiry-Based learning, my learning objectives are to challenge students to observe, analyze and make connections. Therefore, my questions do not have “yes” or “no” answers. Rather than ask “what shape is this leaf?” I ask “what do you notice about the shape of this leaf?”. This allows every student to feel comfortable to share their ideas and also opens up the discussion for an endless amount of creative possibilities.
I offer a limited palette when creating collage, painting, and drawing during these fall art explorations. Brown paper is the ground and the space where we collage our falling leaves. Colored tissue triangles are the leaves that are fragile and pointy. Yellow and Red can be mixed to recreate the various orange hues that dress the fall leaves and are painted with patterns that mimic the motion of leaves touching the ground. Oil pastels can illustrate the falling leaves. I make an effort to ask the students about the shapes and lines I notice in their compositions and write their direct quote in small, neat pencil at the bottom of their drawing. The product is not my concern, rather a positive experience with the art process and the connection they make to the content determines my material choice and activity structure. Once you have an objective in mind (a goal for what you want students to learn and become aware of), format and plan your learning experiences to achieve your goal.
 Elementary artists are introduced to contour drawing with the help of the various types of leaves I collect that morning. Note that leaves don’t last longer than a day inside so my collections were frequent and fresh for each art experience (if time is on your side, a quick trip outside will allow students to scan the local harvest and choose a selection of inspiring material). Students carefully observe the curves, dips and sharp angles that form the edges of the soft delicate forms and use black felt-tip pens to draw their observations. Students soon noticed the texture found on the underside of the leaves and inquired about what they saw. We discussed how veins bring nutrients to all areas of a leaf’s surface and made a connection to the veins in our own bodies and discussed how they carry blood and oxygen to every part of our body. Texture was further explored through leaf prints using black ink on white paper. Students discovered so much more about the details and patterns found in leaves when they observed the textures that the process of relief printing offered to the naked eye.


What other material would be able to display the textures found in a leaf? Students pressed leaves into clay with the help of a rolling pin and carefully lifted the pointed subject. A beautiful impression was left in the clay and students were motivated to use a clay knife to follow the contours of the leaf and cut out its elaborate shape. Colored underglazes can be used after a bisque firing to make these hard-to-see details more prominent. See the link for clay relief below. At the end of the class period, students had made at least three clay reliefs and joined them together to form a fall inspired sculptural work of art.

Are you inspired to bring nature inside for a creative artmaking experience? If so, view the list below for a selection of engaging and meaningful hands on learning.
Autumn Inspired Art Experiences (and the necessary materials)
Leaf printing (ink, brayer, paper)
Contour Leaf Drawing (any drawing material, paper)
Leaf rubbings (crayon, oil pastel, chalk pastel, paper)
Leaf prints in clay (clay, rolling pin, clay knives, colored underglaze, clear gloss glaze) learn more here.
Leaf collage (liquid glue, paper, be sure to vary the size and shape of leaves, literary resource: Leaf Man by Lois Ehlert)
And if you crave direct contact with a human being to answer your questions, as do I, feel free to email me anytime at sunporchartstudio@gmail.com .
Have a crisp, cool, windy yet COLORFUL day! (and why not finish it off with a mug of hot cider)
-MJ
Filed under Teaching Art to Children
This juicy text has been updated and enhanced. Enjoy!

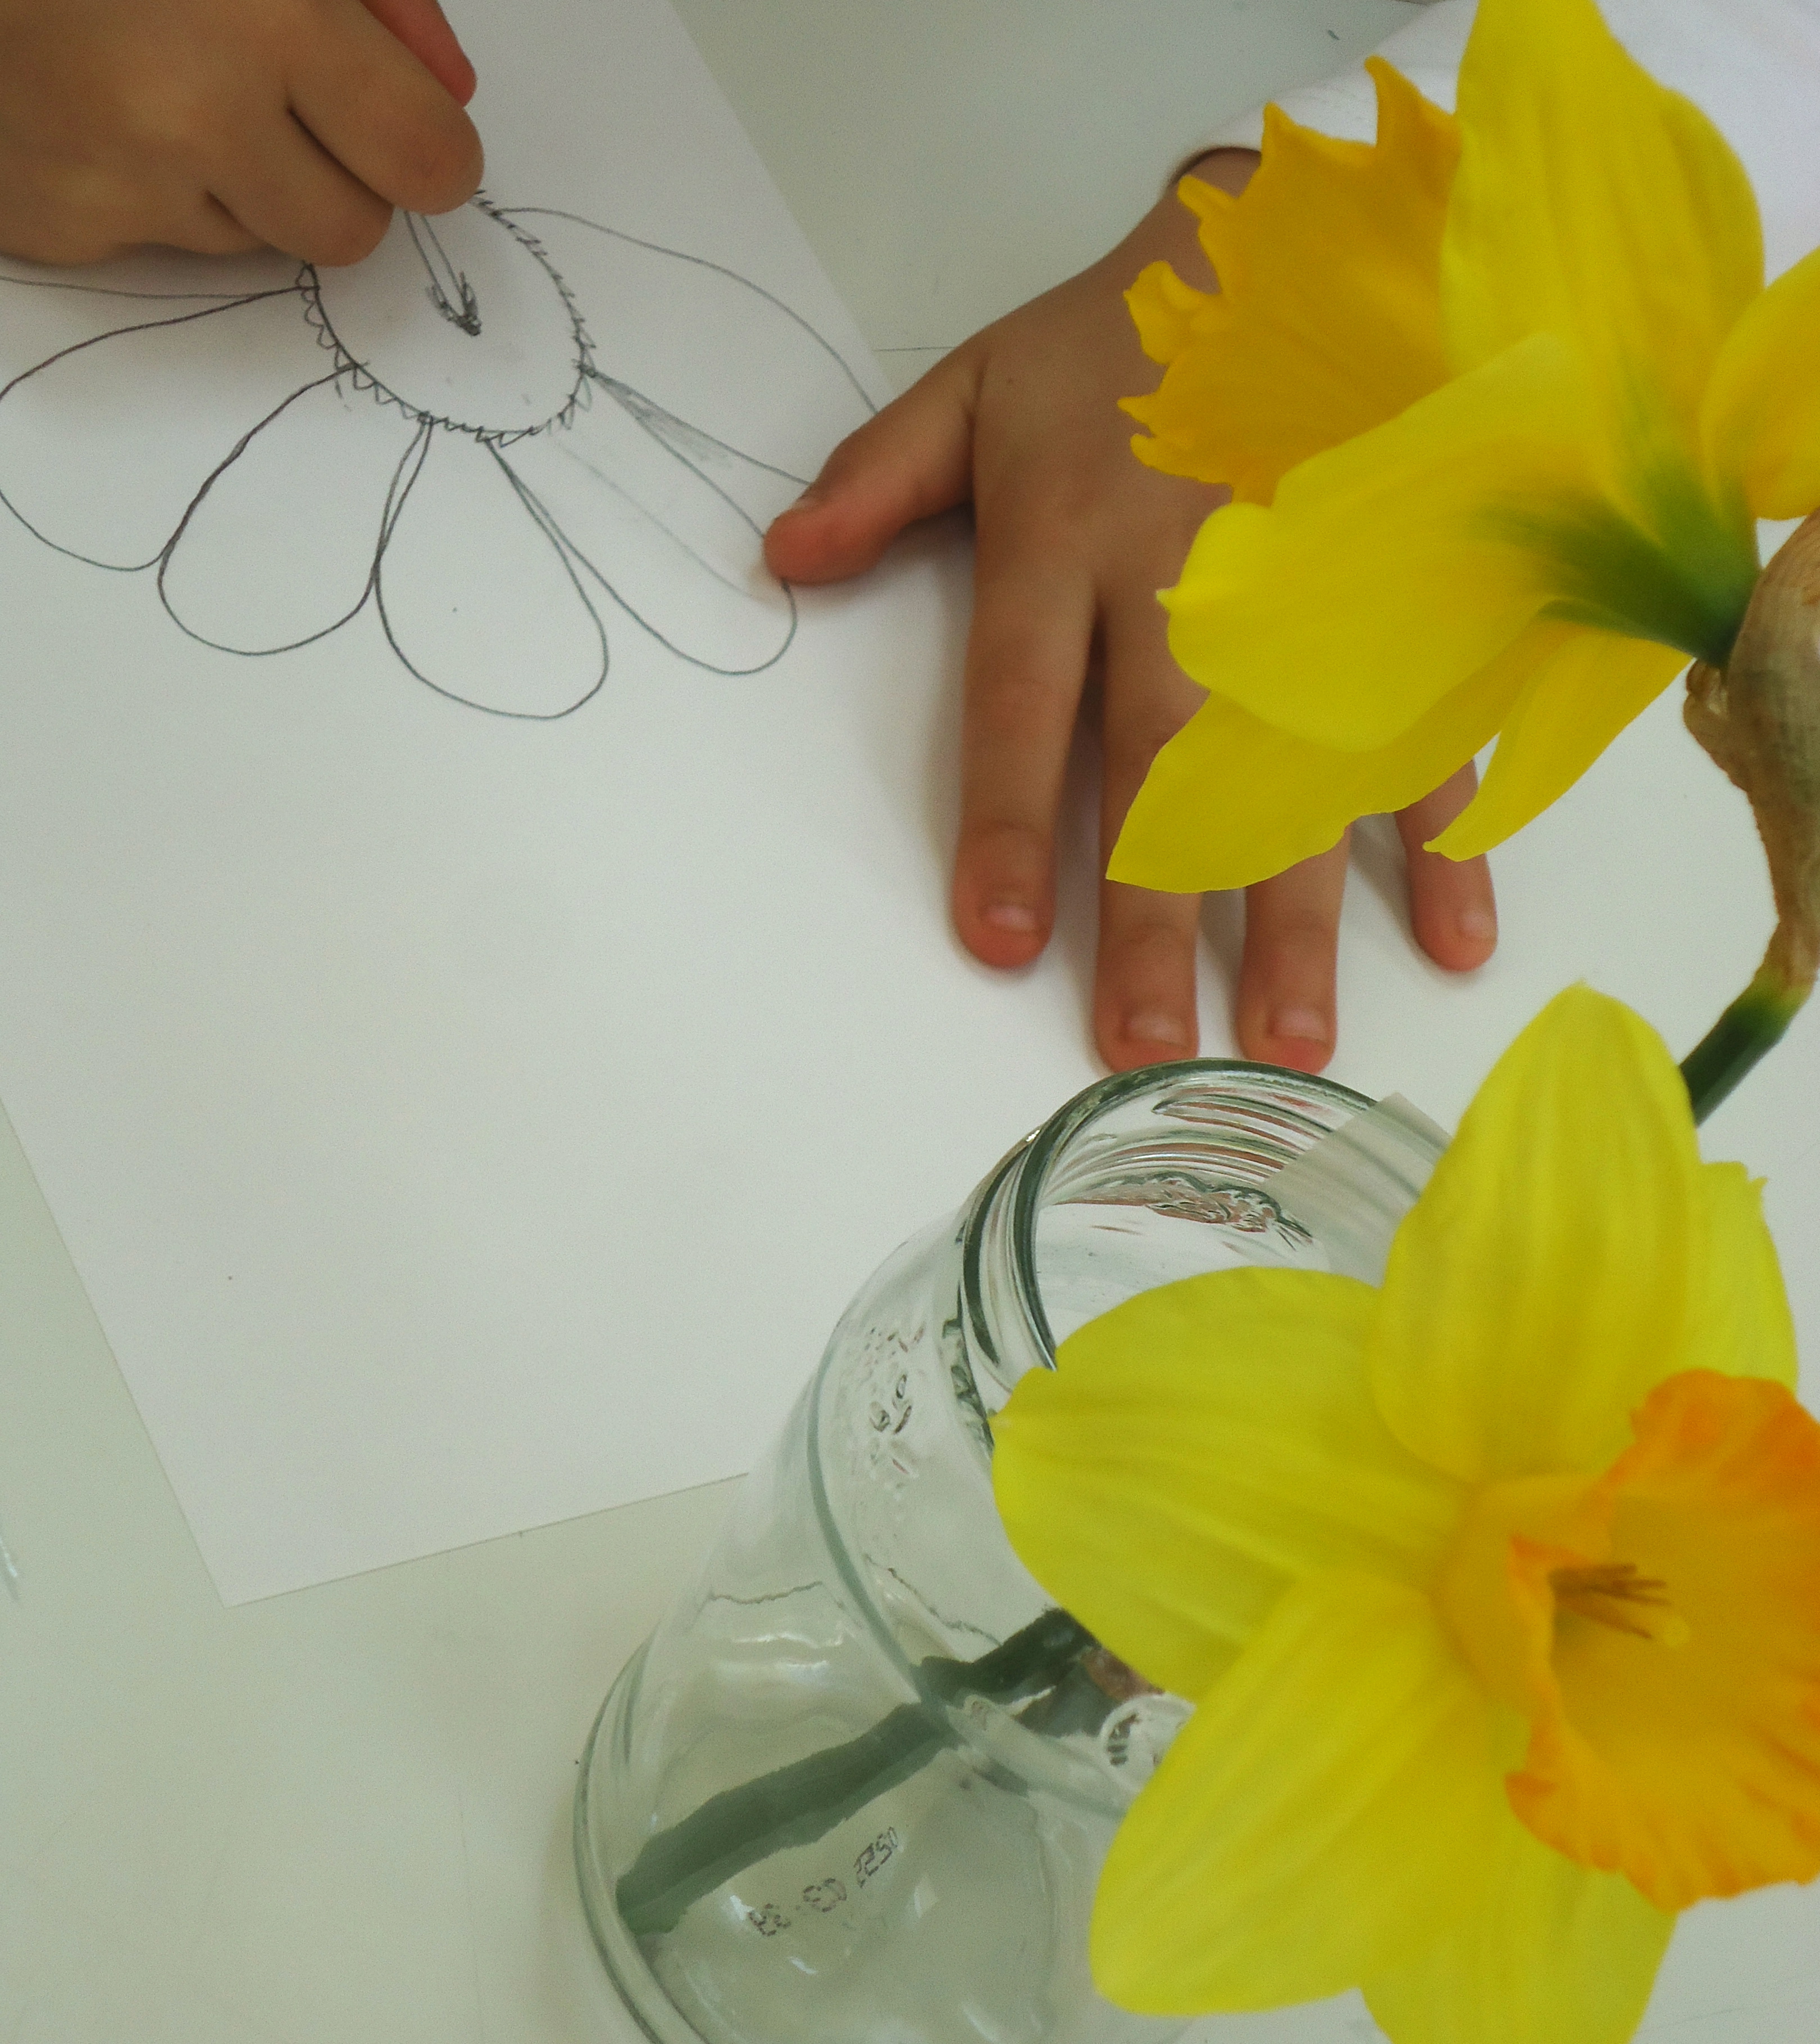
For young children, art making is a primary means of expression. It is how they are able to share stories and it is how they reflect on their experiences to better understand their world. As a parent and teacher, it is often the adult’s responsibility to foster their interest as an artist and help them to grow as a well-rounded, happy individual.
Let’s explore ways to make art experiences magical and productive.
OBSERVE AND LISTEN WITHOUT JUDGEMENT
When engaging in art activities with your child, study how they work and look for strategic placement of lines, shapes and objects. Look for gestural strokes of the brush and how they chose to use tools and materials. Notice their working habits and talk to them about it as they work. This builds their vocabulary and also helps them to be a mindful and reflective artist. Art Note: If you down for a big clean up, allow children to explore painting on their own before offering appropriate tool use. They may even teach you a new way to engage with a material. I have songs and phrases that help my students practice skillful tool use. I love to match a phrase or a direction to song or simple tune. I find the students retain much more because they repeat back the tune and the words that go with it. Humans are inherent music lovers and respond well to tonal changes in your voice.

ENGAGE A DISCUSSION BASED ON YOUR OBSERVATIONS
When you notice specific colors or shapes in your child’s art, tell them what you see: “I notice straight lines moving out from your circle.” Or “This blue line travels up and across your page and ends in the opposite corner.” Trace your finger over the object you are describing. This will not only give them vocabulary to use but will also let them know that you value their art, which is an important component in building self-efficacy. If you are ever unsure as to what your child’s art represents, simply say “Tell me about your drawing/painting/clay sculpture/etc.”. You should avoid asking “What is that?” because, for a young child, it may not BE anything but a visual expression of a kinesthetic experience of paint, brush and paper. Furthermore, and also with older children, this question has the potential to infer that their attempt at clearly expressing a story has failed. Again if you are unsure, look for marks, colors and/or figures and construct a question that is focused around what stands out to you: “I see many energetic green lines in the center of your page. Can you tell me more about that?”
If you would like to prompt a new way to create or a new use of color, make a suggestion like: “Wow, you have a large collection of red circles nested close to each other over here. Would you like to add more detail over there?” “You seem to enjoy painting with yellow; how about rinsing and exploring some blue paint?”
PROCESS AND PRODUCT
When your older child brings home a finished work of art, engage them in a discussion about the goals they had while developing their idea, if it changed throughout the process and if they believe they met their goal in the end. Ask them if they faced any challenges and, if so, what strategies they used to work through them. Talking through the art process allows the artist to reflect on their actions which has many benefits. The act of reflecting gives us perspective, helps us to learn from our mistakes, allows us to generate new ideas and also makes us aware of our strengths and how we may share them with others. As parents and teachers who engage in reflective discussions with children, we also discover so much about their work habits, passions and even challenges that we may not have know by simply viewing the work. As the viewer, at times, we may place too much emphasis on the end product and what it looks like. Yes, the visual arts are well known for beautifying our living spaces. However, for the artist, the process, or the act of dreaming, designing and creating, is what they are most passionate about and why they persevere. “Every picture tells a story, don’t it?” Let’s discover what each work of art holds inside.
NURTURING A GROWTH MINDSET
I will often lead a discussion about the power of positive thinking with my students where I talk about the plasticity of the brain. I tell them about an article I read in TIME magazine that proves how our brain can be affected by something as inconspicuous as a simple thought. Read the article here. I elaborate on how a negative thought can have an impact on our performance just as a positive thought can be a helpful motivation. I explain that if we say to ourselves “I can’t do it, I can’t do it” over and over, our brain will actually not be able to fulfill the task. We failed because we told our brain to fail. However, positive thoughts, affirmations and motivating words will help us achieve success. Taking small steps that lead to a complex finished piece will help form an enjoyable art experience and empower us to take on new challenges.

Filed under Teaching Art to Children